Looking for a specific recipe? Search here:

Friday, December 26, 2014

Honey Roasted Peanut Butter Shortbread Cookies


I would have stopped posting new shortbread cookie recipes I’ve tried this year but this may very well be the one that replaces my favourite peanut butter cookie recipe.

Perhaps it’s the finer texture of these cookies or more delicate peanut butter taste that makes them so enjoyable.  The added flavour and extra crunch of honey roasted peanuts might also have something to do with it.

The only thing that could possibly take these cookies over the top is a quick dip into some delicious melted chocolate!

Honey Roasted Peanut Butter Shortbread Cookies
1 cup unsalted butter, softened
2/3 cup creamy peanut butter
2/3 cup light brown sugar, packed
1 1/2 teaspoons vanilla
2 1/2 cups all-purpose flour
1/4 cup cornstarch
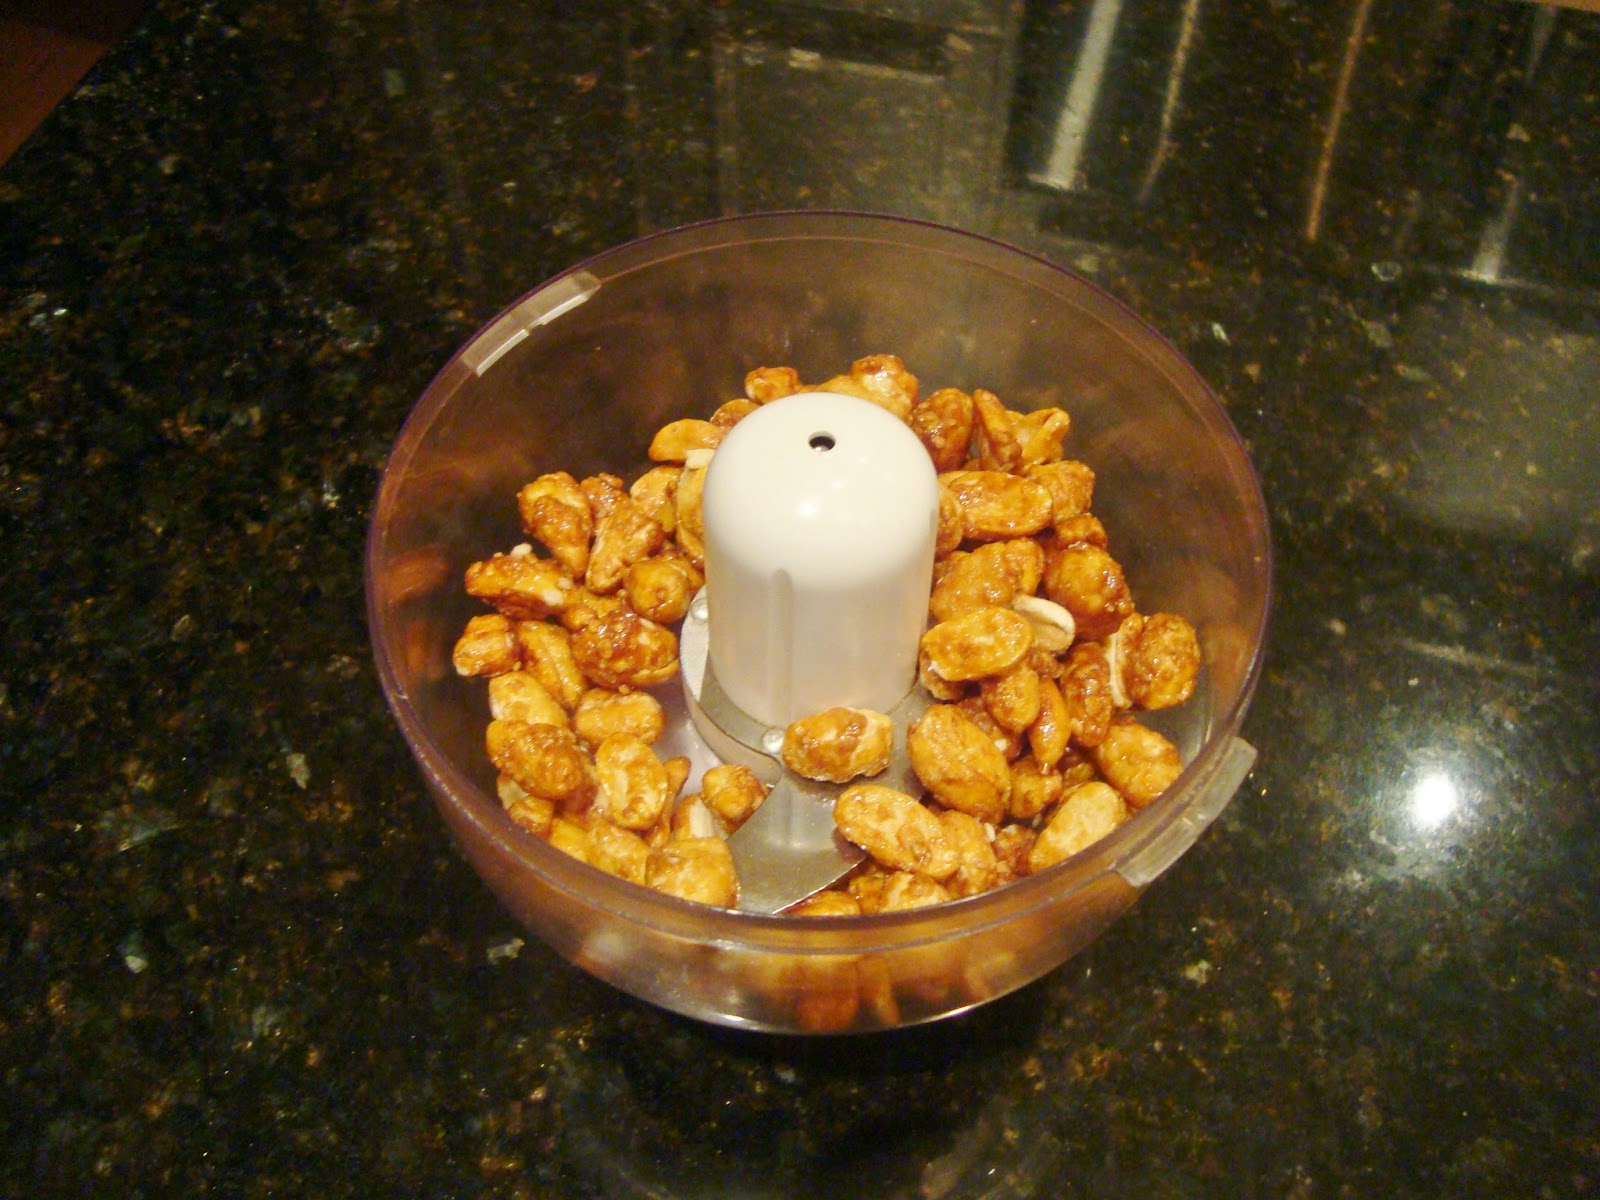
3/4 cup very finely chopped honey-roasted peanuts, optional

  1. Combine the butter, peanut butter, and brown sugar in a large mixing bowl; beat with electric mixer until smooth and creamy. Beat in vanilla.
  2. Sift together flour and cornstarch and stir or beat into dry ingredients until mixture holds together. Blend in the very finely chopped peanuts.
  3. Chill for about 30 minutes.
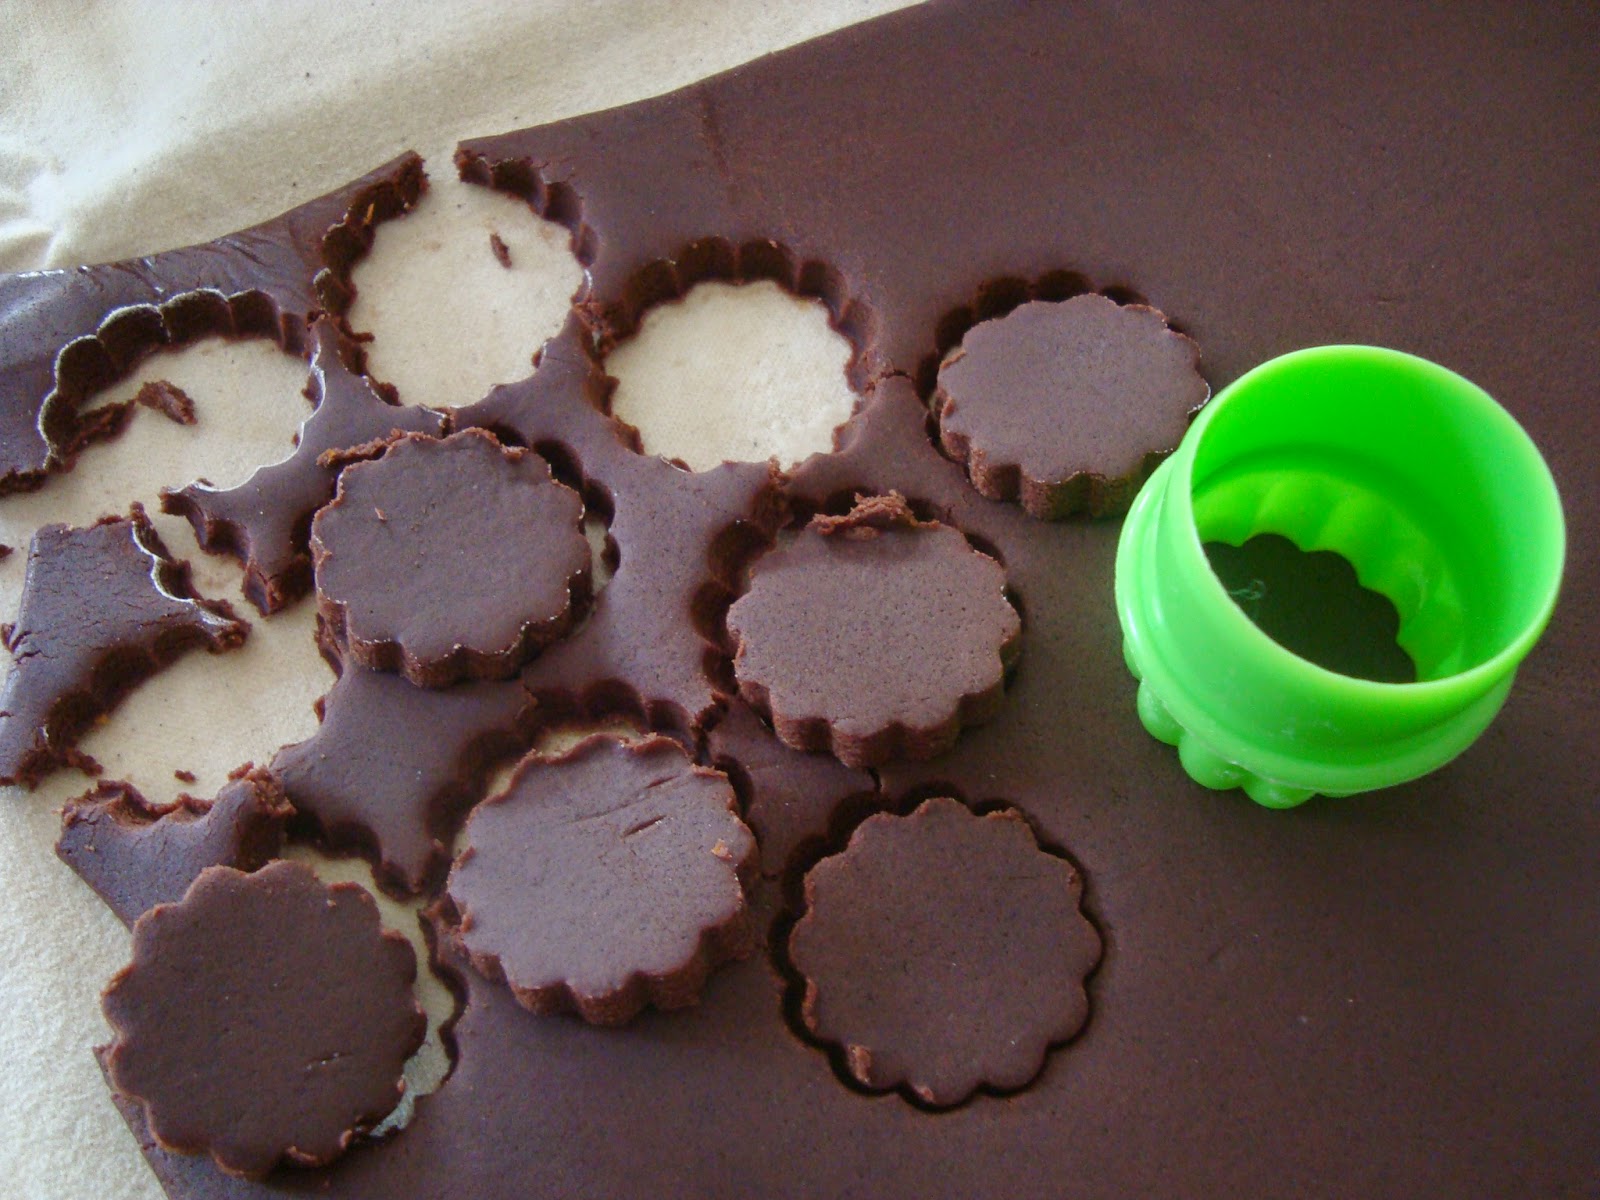
  4. Roll out on a lightly floured board to about 1/4-inch thickness, cut with cookie cutters and place on an ungreased or parchment lined baking sheet .(Tops of cookies may be coated with some chopped honey roasted peanuts for some texture at this point.)
  5. May also be shaped into small balls and placed on a cookie sheet, dipping the bottom of a glass in granulated sugar, and flattening  gently to about 1/4 inch thickness.
  6. Bake in a preheated 350 degree F. oven for 20 to 25 minutes, or until cookies are set and bottoms just begin to brown.
  7. Cool on the pan for 5 minutes then remove to a wire rack to cool completely.
  8. If desired, melt 1 cup chocolate chips with 2 teaspoons of shortening and drizzle over the cookies.


Notes, Tips and Suggestions

  • Absolutely delicious alternative to regular peanut butter cookies...a must try!

Friday, December 19, 2014

Peppermint Meringues


Put away the flour, butter, baking powder and soda.  Save the egg yolks to make some delicious homemade fettuccini and clear any plans you may have with your oven for the next three hours.

Egg whites and sugar have never tasted so good!  A few drops of peppermint make these light as air meringues a very special treat.

Excellent for creating interest on an assorted cookie tray but absolutely unique as an alternative to after dinner mints these sweet morsels are absolutely delightful!

The delicate sprinkle of candy snowflakes make them too pretty to eat...almost! 

Peppermint Meringues

2 extra large egg whites (room temperature)
1 cup plus 2 tablespoons confectioners’ sugar (first measure then sift)
¼ teaspoon cream of tartar
1 teaspoon pure peppermint extract
  1. Grease and flour baking sheet or line with parchment paper.
  2. Using an electric beater, whip egg whites and cream of tartar until foamy.
  3. Sprinkle in sugar a little at a time while continuing to whip at medium speed.
  4. Beat until mixture becomes stiff and shiny.
  5. Transfer mixture to a large pastry bag fitted with a large star or plain tip.
  6. Place in a preheated 190 degree F. oven and bake for three hours until meringues are dry and can be easily lifted from sheet.
  7. Cool meringues completely and store in an air tight container at room temperature.


Notes, Tips and Suggestions
  • No pastry bag? Drop small amounts of meringue from a teaspoon quickly lifting spoon to create a peak.
  • Make sure to add sugar very slowly or meringue will not beat to stiff peaks.
  • These meringues freeze well. 
  • I already had peppermint extract in the pantry but while in the U.S. last year I fell in love with the box containing this little bottle of peppermint.  In case you're wondering, the extract is great as well! 
  • Candy snowflakes?   The Bulk Barn.


Friday, December 12, 2014

Chocolate Orange Shortbread


Along with butter this shortbread recipe uses granulated sugar and all-purpose white flour. Considering that no eggs or leavening agents are present, shortbread cookies are quite easy to make and the coming together of only three ingredients turn out a most delicious cookie!

However, the addition of unsweetened cocoa powder, orange zest and extract take it from basic shortbread to something very unique! Orange zest is not a listed ingredient in this recipe but I couldn’t resist adding that extra orange flavour which comes from the natural orange oils found in the peel.

With a minimal amount of sugar, deep chocolate flavour from the unsweetened cocoa and aromatic essence of orange this cookie needs no embellishment... it speaks for itself!

No need to wait for the holidays to bake these, the snowflake in the center is a seasonal decoration and totally optional!

Chocolate Orange Shortbread Cookies
1 cup butter, room temperature
10 tablespoons granulated sugar
1 tablespoon orange extract
2 cups flour
½ cup unsweetened cocoa powder
  1. Sift together flour and cocoa.
  2. In a large bowl beat together butter, sugar and orange extract, add the dry ingredients and mix well.  The mixture will look crumbly, use hands to bring dough together.
  3. Roll dough into a rectangle, cut out with small cookie cutter.
  4. Bake 15 to 20 minutes depending on size of cookies. (don’t over bake)
  5. Makes about 3 dozen cookies.


Notes, Tips and Suggestions
  • If using orange oil instead of extract a couple of drops are sufficient.
  • A tablespoon of finely zested orange peel gives maximum flavour but optional. 
  • At first dough will look quite crumbly.  I found the easiest way to make it come together is to remove it from bowl onto a sheet of plastic wrap then draw up sides of plastic wrap and push down.  Continue doing this until dough comes together and forms a ball.
  • The Glad food bag method works really well for rolling out the dough and also makes a good thickness for the cookie.

While on the subject of shortbread...the plain Shortbread Recipe posted in December 2009 makes lovely, large snowflake cookies as well.


Friday, December 5, 2014

Clementine Chiffon Cake


Honestly, you’ll have to eat just about half of this cake before realizing you have eaten any at all!

Marbled and Banana are some of my favourite Chiffon Cake flavours made occasionally but I’ve been baking the Lemon variety for more years than I wish to disclose.  Although its towering height makes for an impressive presentation, this super light, moist cake can certainly hold its own in a delicious trifle or tiramisu.  Then there are times when a simple slice topped with strawberries and whipped cream has to be the best dessert ever invented!

Clementine have been on my mind since recently appearing in supermarkets. Even though it’s the beginning of Clementine season it wasn’t until this past week that I came across a little crate of these sweet beauties that didn’t look like last year’s crop.  Like most fruit, it needs to be enjoyed in as many ways possible before the season is over!

Last year a quick conversion of my Lemon Ice Cream recipe into Clementine Ice Cream captured the flavour of the season.  After searching for a Clementine Chiffon Cake recipe and not quite finding what I was looking for, a few minor changes to my Lemon Chiffon recipe once again captured the essence of Clementine in a most fragrant way.  The vibrant Clementine flavour that comes through in this cake is delightful to say the least.

My sweet Clementine… I’m not finished with you yet!

Clementine Chiffon Cake

1 cup (7 to 8 egg whites)
5 egg yolks
2 ¼ cups sifted cake flour (sift before measuring)
1 cup sugar
½ cup sugar (for egg whites)
½ teaspoon cream of tartar
1 tablespoon baking powder
½ teaspoon salt
½ cup vegetable or corn oil
juice of 4 clementines plus enough water to equal ¾ cup
zest of 4 clementines
  1. Beat egg whites until light then gradually add the 1/2 cup of sugar beating until whites are stiff.  Set aside.
  2. In a large bowl sift together flour, 1 cup sugar, baking powder and salt.
  3. Make a well in the center of the dry ingredients and add oil, water/ clementine juice, egg yolks and clementine zest.  Beat with mixer until smooth.
  4. Slowly pour egg yolk mixture over egg whites and fold gently until well mixed.
  5. Pour into an ungreased 10 inch tube pan and bake in a preheated 325 degree F. oven for 55 minutes then raise temperature to 350 degrees F. and bake an additional 15 minutes until top is golden brown or surface springs back when lightly touched.
  6. Remove from oven and turn pan upside down to cool. (over a bottle or funnel unless pan has metal legs to invert onto.)
  7. When completely cool run a spatula around inside of pan and center tube to release cake.


Notes, Tips and Suggestions
  • If funnel is plastic wrap first in foil before inverting pan over it.
  • Make sure no egg yolk gets into the whites as this will prevent the whites from obtaining the maximum volume.
  • Cream of tartar helps ensure good egg white volume, if none is on hand a pinch of salt is the next best thing.
  • Make sure pan is totally free from any traces of grease to prevent cake from slipping out when inverted.
  • Cake must be completely cooled before removing from pan.
  • Freezes very well.