Looking for a specific recipe? Search here:

Friday, September 26, 2014

Concord Grape Juice


Autumn, a time of harvesting before fields and orchards lay bare for the long winter months ahead.  A certain urgency to gather and preserve instinctively overtakes the mind in anticipation of enjoying a taste of summer in the middle of the oncoming winter.

This was the time of year for my father to bring out the wine press; stacks of wooden crates filled with grapes replaced the bushel baskets of tomatoes.  The fragrance from freshly squeezed grapes filled the air as they released their juices which eventually fermented and became the year’s wine supply.

I never took part in the wine making process; it was my father’s work along with a little help from my mother but for years I had a grape experience of my own.  Having access to bushels of concord grapes from a most fruitful vine in a family member’s back yard, it was time to get creative with the yearly abundance.  The purchase of a steam juicer turned out to be just the equipment to turn those grapes into fragrant juice and in turn a most delicious grape jelly!

It’s been several years now that the vine is no more and the juicing pot sits on the shelf… until today.  Some concord grapes unexpectedly came my way bringing back so many memories and an overwhelming desire to pull that juicer out of retirement.

Definitely didn’t make enough juice for a year’s supply but just enough to make a batch of absolutely delicious grape jelly!

Concord Grape Juice

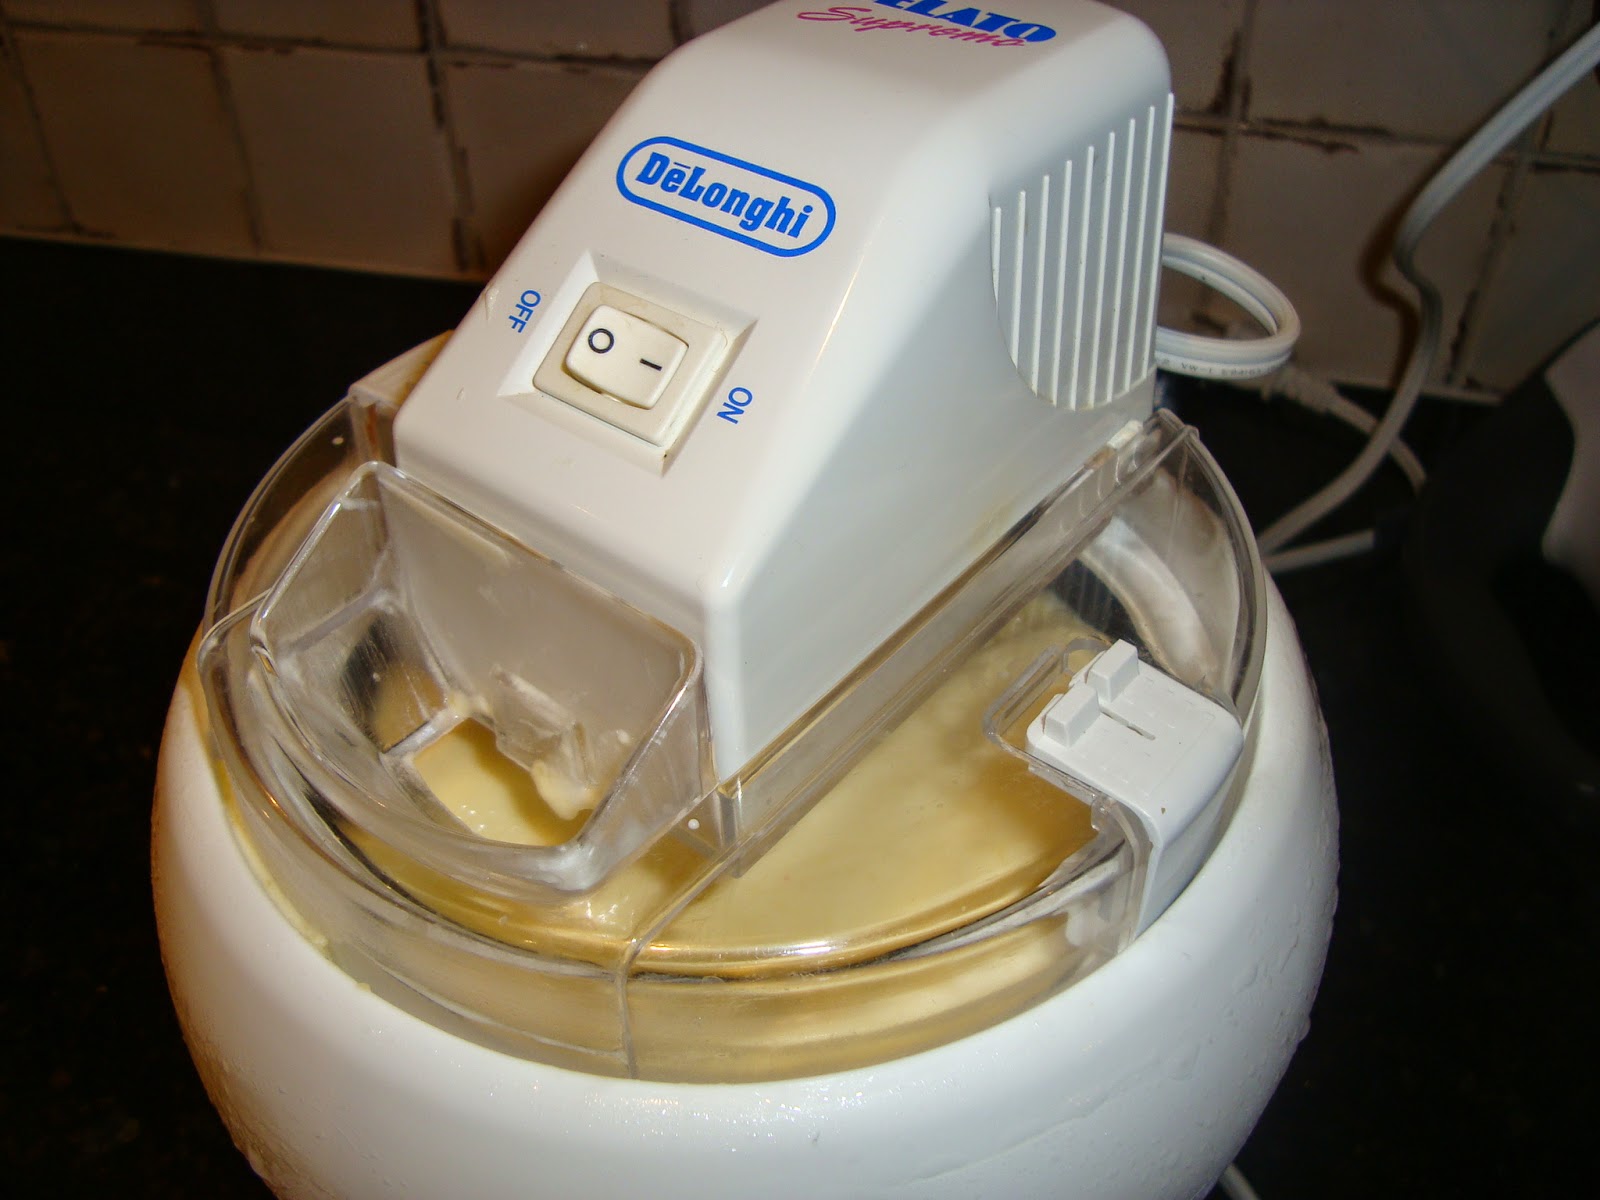
I purchased this Steam Juicer many years ago and used it to make apple and grape juice for my children.  Apple and Grape jelly also became a pantry staple during those years.  Although there are different ways to extract juice from grapes this method is the cleanest and in my opinion most efficient way to get every drop of juice from the delicious juicy grapes.
The grapes I gratefully received this week weighed in at 2 pounds 3 ounces, a far cry from the bushels processed in years gone by.  Not sure how much juice I was going to end up with but was excited to see enough to make a batch of grape jelly pouring into that mason jar!
A house filled with the fragrant aroma of grape juice, sweet memories of days gone by and enough grape jelly to enjoy and share!


Steam Juicer


Water pan


Food basket


Juice kettle


1. Washed grapes are placed in food basket, no need
to remove stems or pits. This is placed over the
simmering water pan.


2. In less than 10 minutes the grapes begin releasing
juice which collects in the juice kettle and overflows
into the rubber tube. The tube is clamped
until steaming process is over.


3. After steaming one hour heat is turned off and
clamp is removed allowing juice to pour into jars.


4. Grapes release all of their juices. The stems, pits
 and skins can be composted.


Grape Jelly

Now for the jelly... if you can read English or French and follow simple directions, then making this jelly shouldn’t pose any problem. An older instruction sheet from the fruit pectin box gave a recipe for grape jelly made from bottled store bought juice. This recipe is not included on the more recent inserts. Use only pure grape juice, Welche's brand worked well when I made a batch one year although it can't compare to juicing your own grapes.


Grape Jelly from Bottled Juice
2 cups grape juice
1 cup water
1 box Certo fruit pectin
3 1/2 cups sugar

Follow instructions on insert found inside Certo box under Cooked Jams


Notes, Tips, and Suggestions
  • For anyone interested in acquiring a steam juicer it’s available at:           http://www.amazon.com/Back-Basics-A12-Aluminum-Juicer/dp/B0007VW61S 
  • Vegetables as well as fruit and fish can be processed in the steamer. Makes a delicious clear chicken broth as well.

Saturday, September 20, 2014

Duchess Potatoes in Ramekins


I’ve been preparing potatoes this way for years just to avoid the last minute fuss when mashed potatoes are on the menu. The addition of cheese, egg and breadcrumb topping developed out of a similar dish my mother used to make in a pan.

One day while looking through some recipes I came across a picture of Duchess Potatoes.  After looking over the ingredients I realized they were very similar to the ones I’d been making in ramekins. While I place the potato mixture into ramekins, this recipe pipes it into rosettes straight onto a baking sheet.

Using ramekins makes a good dinner portion size and are really easy to serve.  No matter how these potatoes are presented, ramekin or not it's a great way of dressing up mashed potatoes making them just a little more special.

For years my potatoes in ramekins had no name…Duchess Potatoes… how fitting!

Duchess Potatoes in Ramekins

The following are approximate measurements.  What you want to end up with are light fluffy potatoes and if that means add a little more milk then do so.  Most of the recipes I’ve come across use only egg yolks I’ve always used the whole egg and it works well.  Adding your favourite cheese instead of mozzarella is perfectly acceptable and stirring in some finely chopped chives, parsley or favourite herbs definitely elevates the flavour.

6 to 7 medium Yukon Gold potatoes
¼ to ½ cups hot milk
1 egg
shredded mozzarella or other favourite cheese
fine, dry bread crumbs
salt and pepper to taste
  1. Wash and boil potatoes until fork tender.
  2. Peel and put through a ricer  or mash well to remove any lumps.
  3. Add salt, pepper, egg and using a mixer blend until well mixed.
  4. Add hot milk a little at a time until a fluffy, smooth consistency is obtained.
  5. Butter 4 small ramekins and fill half way with potato mixture.
  6. Add cheese then continue to fill well above the rim of the ramekin.
  7. Top with a generous sprinkle of dry breadcrumbs.
  8. Place ramekins on a baking sheet and bake in a preheated 375 degree F. oven until golden, approximately 20 to 25 minutes.
  9. Serve immediately.


Notes, Tips and Suggestions
  • Use only hot milk, cold milk will result in potatoes with glue like texture.
  • Yukon Gold potatoes are the best choice for this recipe.
  • These can be prepared earlier on in the day and slipped into the oven just before serving.
  • Using a ricer will remove all lumps and give a finer texture to the potatoes.
  • Use of a pastry bag and large star tip definitely gives points for presentation.

Friday, September 12, 2014

Frozen Peach Yogurt


Although ice cream and frozen yogurt tend to be more summery treats there’s absolutely no reason not to enjoy them year round. Our ice cream maker does its share of work no matter what season of the year it happens to be.

There is however something to be said about making homemade ice treats during the summer months.  Perhaps the availability of fresh fruit and berries has something to do with it or it could be that certain satisfaction of indulging on a hot summer’s day.

Summer will officially be over in less than two weeks along with the delicious baskets of seasonal peaches.  It was now or wait until next year to try this new Frozen Peach Yogurt recipe. Passing up the chance of making it with this year’s sweet peaches would surely bring regrets!

Perhaps this will be the last hurrah for this year’s peach recipes!… we’ll just eat the rest!

Frozen Peach Yogurt

4 cups peeled and diced fresh peaches
½ cup super fine sugar (fruit sugar)
2 tablespoons lemon juice
1 teaspoon vanilla extract
2 cups plain yogurt
¾ cup whipping cream whipped to soft peaks.
  1. Puree peaches in blender until smooth.
  2. Add sugar, lemon juice and vanilla and continue blending until sugar dissolves.
  3. Add yogurt and pulse blender until yogurt is mixed in and smooth.
  4. Pour mixture into a bowl and fold in the whipped cream.
  5. Process mixture in an ice cream maker following manufacturer’s instructions.
  6. Remove frozen yogurt from ice cream machine and store in the freezer until firm, at least 3 hours.


Since this recipe did not state the yield of frozen yogurt I assumed it was the correct quantity of mixture for my 1 1/2 quart ice cream machine. This was not the case as  it was too much.  The recipe has been adjusted in order to accommodate a 1 1/2 quart capacity machine. 

3 ½ cups peeled diced fresh peaches
½ cup superfine sugar (no adjustment as it can use a little more sugar)
2 tablespoons lemon juice (no adjustment)
1 teaspoon vanilla (no adjustment)
1 ½ cups plain yogurt
½ cup whipping cream (measure then whip)

Proceed with above method of preparation.


Notes, Tips and Suggestions
  • Store frozen yogurt in a non-reactive container, plastic is best.
  • Will add ½ teaspoon of almond extract next time to enhance the peach flavour.
  • unless this is enjoyed within 4 to 5 hours of making it freezes quite solid and will require removal from freezer for about 10 to 15 minutes before serving or until soft enough to scoop out. 
  • A better idea would be to freeze in smaller portions if not intending to use it all at once. This way it will be easier to soften before eating and avoid softening the whole container just to get a couple of scoops.

Friday, September 5, 2014

Peaches and Cream Loaf


From the first peach to the last we enjoy Ontario peaches each year for the duration of the season.  No doubt, it’s my favourite summer fruit! 

Besides drowning a scoop of homemade vanilla ice cream with warm sautéed peaches they’re equally delicious served absolutely cold over cheesecake.  The first peaches purchased this year made their way into a delicious peach pie and of course some peach goodness has been preserved into jars of jam.  I admit however that nothing beats eating seasonal peaches right out of hand making a big juicy mess!

I’ve wanted to find a good recipe for peach bread but after an extensive search on the subject didn't find what I was looking for. This wasn’t time to give up; instead a perfect time to come up with a recipe of my own. The risk of wasting good ingredients left me a little uncomfortable but unless one tries one will never know!

Using a favourite muffin recipe along with a little addition, subtraction and multiplication of the original ingredients I came up with something that seemed well worth a try.

Glad I ventured… an absolutely delicious recipe gained!

Peaches and Cream Loaf

1/2 cup butter, softened
2/3 cup granulated sugar
2 eggs
2 cups flour
2 teaspoons baking powder
½ teaspoon freshly grated nutmeg
¼ teaspoon salt
2/3 cup cream
2 cups peeled, chopped peaches
  1. Grease a 9x5 inch loaf pan.
  2. Sift together flour, baking powder, salt and grated nutmeg into a bowl.
  3. Cream butter and sugar until fluffy.
  4. Beat in eggs until well mixed.
  5. Add dry ingredients alternately with cream to egg mixture stirring just to combine.  Do not over mix.
  6. Fold in peaches.
  7. Place batter into greased loaf pan and bake in a preheated 375 degree F. oven for 35 to 40 minutes or until golden and tester inserted into middle of loaf comes out clean.
  8. Cool in pan for 5 minutes then remove to cooling rack.


Notes, Tips and Suggestion
  • Use a narrow strip of parchment paper to line pan.  This will ensure easy removal of loaf.
  • I used 18% cream but 10% will probably work just fine.
  • If peaches are really juicy, drain on paper towel for a few minutes.
  • nutmeg really works in this recipe.