Looking for a specific recipe? Search here:

Friday, July 25, 2014

Blueberry Streusel Muffins


You can tell when blueberries are in season when they actually taste like blueberries and the price goes down considerably.  During this season I try to use fresh blueberries in as many ways as I can.

A batch of tasty blueberry jam presently lines the pantry shelf and the freezer holds some delicious tutti-frutti popsicles.  A good portion of berries has added colour, taste and texture to numerous fruit salads as well.

I couldn’t let the season go by without baking some favourite Blueberry Streusel Muffins.  After trying several blueberry muffin recipes this is the one that has made it into my permanent recipe collection.  It’s interesting to note that many of my favourite recipes don’t come from a cook book or food magazine but a free little pamphlet found in the aisle of a grocery store.

Not too sweet, tender crumb, crumbly streusel topping and a burst of juicy blueberries is the best way to describe these muffins.

To sum things up in one word…delicious!

Blueberry Streusel Muffins

Streusel
2 tablespoons granulated sugar
2 tablespoons all-purpose flour
¼ teaspoon cinnamon
2 tablespoons butter
  1. Mix all ingredients in a bowl, cut in butter until crumbly.  Set aside.
Muffins
¼ cup butter, softened
2/3 cups granulated sugar
1egg
½ teaspoon grated lemon peel
2 cups all-purpose flour
2 teaspoons baking powder
¼ teaspoon salt
2/3 cups milk
2 cups fresh blueberries
  1. Grease or line muffin tins with paper baking cups.
  2. Cream butter and sugar until fluffy.
  3. Beat in egg and lemon rind.
  4. Sift together flour, baking powder and salt into a large bowl.
  5. Add alternately with milk to creamed mixture beginning and ending with flour.
  6. Stir just to combine, do not over mix, fold in blueberries.
  7. Spoon batter into muffin cups filling to the top (batter will be thick).
  8. Sprinkle with streusel topping and bake in a preheated 375 degree F. oven for 25 to 30 minutes or until firm to the touch and golden.
  9. Cool in pan for 5 minutes then remove to cooling rack.
  10. Makes 12 medium muffins or 8 large muffins.


Notes, Tips and Suggestions
  • Dust blueberries with a little flour to avoid berries sinking to bottom of muffins.
  • Two cups of blueberries are a few too many for me, about 1 1/4 cups does the job.

Friday, July 18, 2014

Chocolate Coconut Scones


The craving for something coconut brought me to this delicious scone recipe.

It’s a good idea to keep a few inspirational ingredients within view in the pantry for the day baking is on your mind.  Coconut is one of my favourite ingredients, practically a staple in my kitchen.  Judging from the never ending supply of recipes using coconut I conclude that I’m not alone and there’s no shortage of coconut lovers in the world.

Some time ago the Cream Puff Girl also known as my daughter made these scones and sent me a picture.  That’s all I got…a picture!

Wondering if they tasted as good as they looked I intended to make them but never got around to it.  While searching for a way to satisfy my craving for coconut I came across this recipe again and decided the time had come to try it out.

Not having any semi-sweet chocolate on hand I remembered my husband's stash of favourite dark chocolate in the cupboard. I decided to borrow some fully intending to replace it before he noticed it missing!

I would call these dessert scones, delicious and addictive, perfect served at a special tea or enjoyed as a treat for absolutely no reason at all!

Chocolate Coconut Scones
¾ cup 35% whipping cream
1 large egg
1/4 cup granulated sugar
2 cups all-purpose flour
2 teaspoons baking powder
½ teaspoon salt
6 tablespoons cold, unsalted butter
¾ cups sweetened shredded coconut
½ cup coarsely chopped bittersweet chocolate
Coarse sugar (optional)
  1. Preheat oven to 400 degrees F.
  2. Combine whipping cream and egg.
  3. Whisk together flour, granulated sugar, baking powder and salt.
  4. With a pastry blender cut butter into flour mixture until it resembles coarse meal.
  5. With a fork, stir in cream mixture just until combined.
  6. Quickly stir in coconut and chocolate pieces, do not overwork dough.
  7. Transfer dough onto a lightly floured surface and pat into an approximate 8 inch circle.
  8. Cut into 8 wedges and transfer onto parchment lined baking sheet.
  9. Brush tops with a little cream and sprinkle with coarse sugar if desired.
  10. Bake 18 t0 20 minutes or until golden in colour.
  11. Remove from baking sheet and cool on wire rack.
  12. To make ahead, freeze unbaked scones in a single layer, wrap well and store up to 2 months.  Brush frozen scones with a little cream, sprinkle with sugar and bake at 375 degrees F. for about 25 to 30 minutes or until golden.


Notes, Tips and Suggestions
  • Work quickly and lightly with dough.  Do not knead or squish dough together with hands. After dough is mixed, while still crumbly, press down with palm sticking it together then fold over and press down again.  Continue to do so until it has all come together.  This method will ensure the lightest, most tender scones ever!
  • When making these scones the second time (yes they're that good) I used 18% cream instead of 35% and they were just as rich and delicious.
  • Dark chocolate is not my favourite but it's definitely the one to use in this recipe!
  • Borrowed chocolate has been replaced and no one is the wiser!

Friday, July 11, 2014

Homemade Hamburger Patties


It takes a little time time out of your day but making homemade hamburger patties is well worth while.  Although I’ve heard some good reports on various frozen burger brands I have yet to taste one that would bring me back a second time.

I don’t know why some memories remain engraved on the mind forever but my memory takes me back to the first hamburgers my mother made for us when we were just kids. You have to keep in mind that the early Italian immigrants hadn’t a clue on what a hamburger was, I suppose because all their ground meat was used to make meat balls.

I vividly remember the day.  My sister and I had invited the two girls next door over for lunch and we wanted to impress them with homemade burgers. We would have done better with meatballs that day!  This is not to say that the hamburgers were not good, it was just that they were as thick as mattresses, impossible to get our mouths around and even more impossible to finish eating in one sitting.

My mother’s hamburger making has come a long way since then!

A good policy on the matter is to choose the best meat you can and mix in a whole lot of flavour!  Make them as big as you want but on the thinner side making them them easier to eat and totally cutting down on cooking time. This recipe incorporates some of the flavours we like best but by no means lessens the possibilities of other choices.  Mixing different kinds of meat gives more complex flavour, it doesn’t have to be all beef all of the time.  The additional ingredients can go as far as individual taste to unimaginable creativity!

One thing is for sure, for most delicious results, grilling these patties on the barbeque is not optional!

Homemade Hamburger Patties

I usually don’t measure the ingredients exactly but for this post I used three pounds of meat and measured out the remaining ingredients.  All ingredients can be adjusted to taste if desired.

3 pounds ground meat (your choice)
1 egg
½ to 3/4 cups grated cheese ( parmiggiano or other hard grating cheese)
½ cup dry breadcrumbs
2 medium cooking onions roughly grated
1 1/2 tablespoons salt
1 teaspoon black pepper
1 1/2  tablespoons Montreal Steak Spice
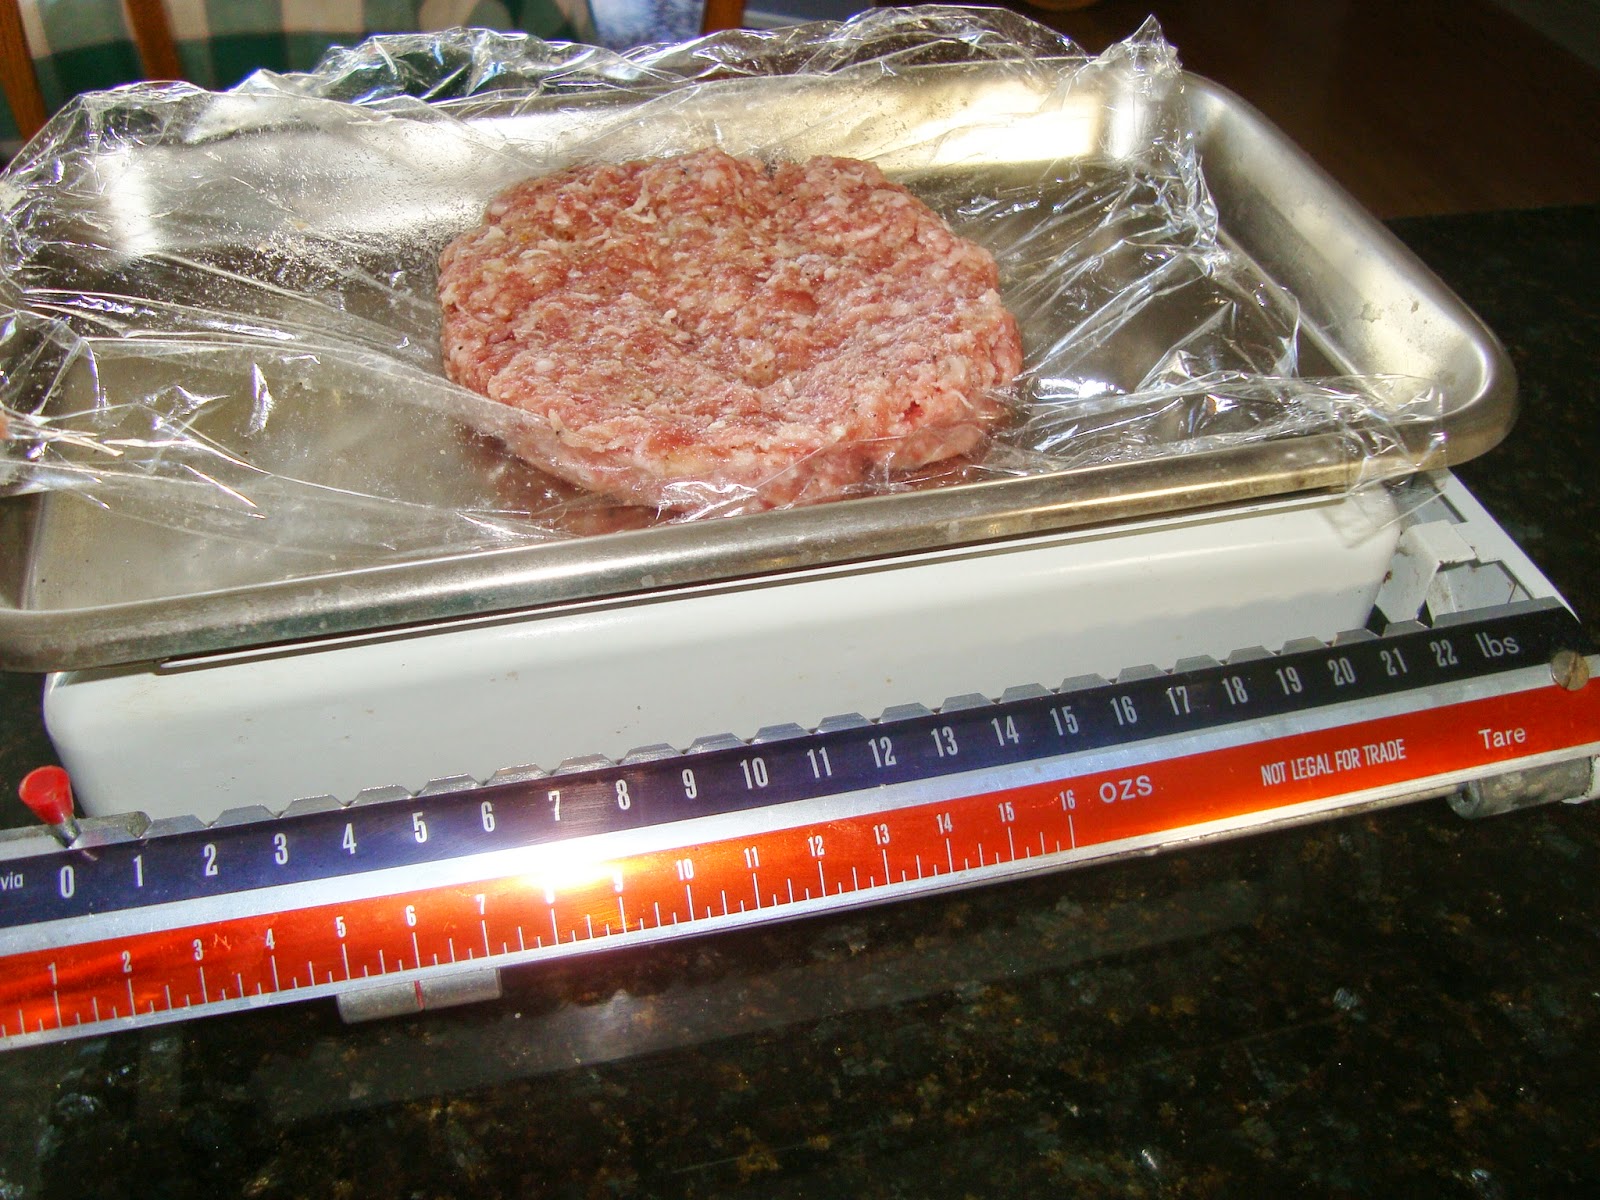
  1. Mix all ingredients well and form into eight 6 ounce patties.
  2. Use the same day or line a baking sheet with plastic wrap and place formed patties in a single layer.   Freeze until solid.
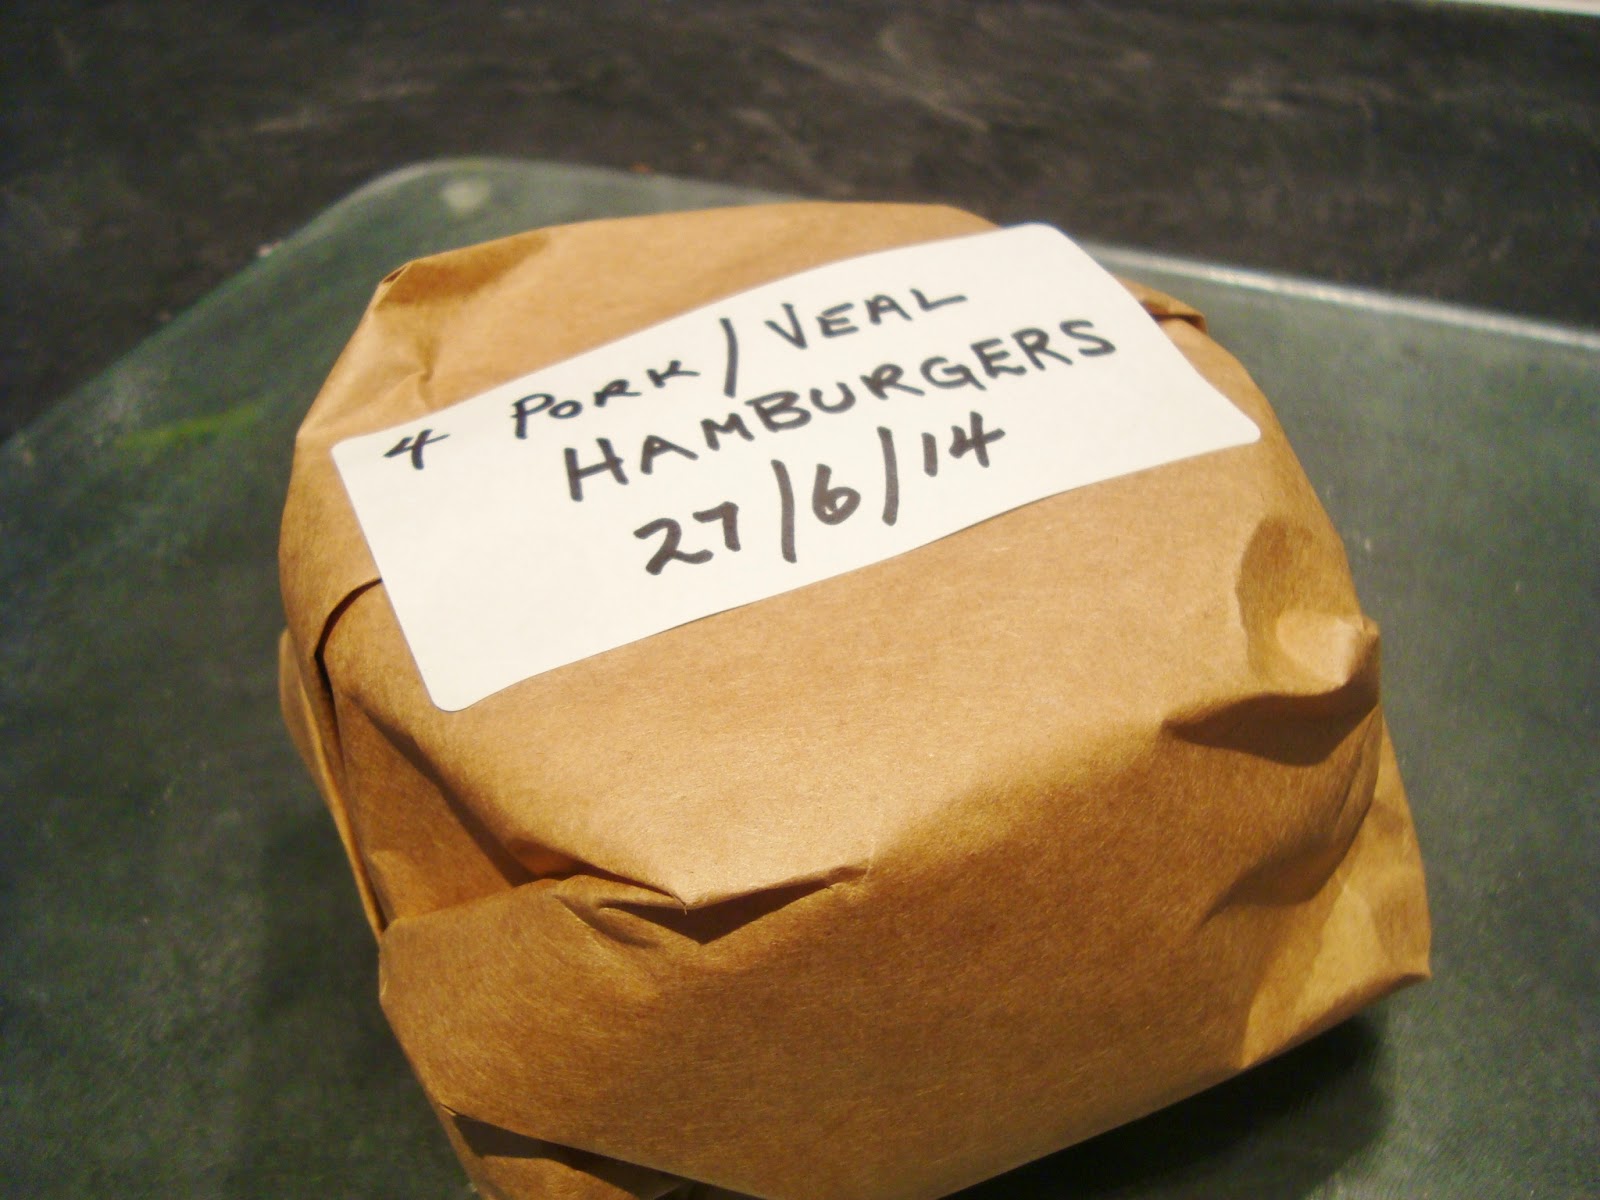
  3. Remove frozen patties from sheet, place pieces of wax paper to keep patties separate, wrap in freezer paper, label and return to freezer.


One of My Favourite Tools

There are plenty of hamburger patty making tools on the market but I found the plastic lid from a bowl I no longer own works perfectly.  When first using the lid, removing the patty proved to be a little difficult. The suggestion to line the lid with plastic wrap for easier removal came from my daughter Elizabeth.
It’s true…two heads are better than one!


Friday, July 4, 2014

Red Kidney Bean Summer Salad


Summer salads should be light, fresh and easy to put together.  I think my mother made a similar bean salad when I lived at home and remember her adding a vinegar olive oil dressing and plenty thinly sliced sweet red onions

Although I usually cook beans from scratch the texture of canned red kidney beans is perfect for this salad and can be conveniently put together in a matter of minutes…literally.  My own version of this salad came together by replacing the red onions with thinly sliced scallions and hot, green pepperoncini.

As a quick, delicious accompaniment to a variety of barbecued meats or just a salad on its own we often enjoy it at our table especially during the summer.  I've also been known to make this salad a few times in winter months when a quick side dish is needed.

There’s no right and wrong way to make this salad, start with the beans and oil/vinegar dressing then create your own version by adding your own creative twist to it!

Red Bean Salad
1 19 ounce can red kidney beans
2 to 3 scallions thinly sliced
2 to 3 pepperoncini, thinly sliced (hot or mild)
salt and pepper to taste
olive oil/vinegar dressing (see recipe below)
  1. Place beans in colander or sieve and rinse under cold water, drain well.
  2. Place beans, pepperoncini and scallions in a bowl
  3. Dress with marinade, add salt and pepper to taste.
  4. Toss all ingredients together until well combined.
      Oil and Vinegar Dressing
      ¾ cups olive oil
      ¼ cup red wine vinegar
      1 teaspoon yellow mustard
      1 teaspoon salt
      ¼ teaspoon sugar
      1. Place olive oil, red wine vinegar, yellow mustard, salt and sugar in a 500 ml jar or bottle with a tight fitting lid and shake until very well combined.
      2. Makes 8 ounces of dressing. (Too much for this bean recipe but can be used to dress salad greens and grilled vegetables as well.)


      Notes, Tips and Suggestions
      • Use a can of three bean medley instead for a change.
      • Make salad a couple of hours ahead if possible for beans to marinade well.
      • Left overs make a delicious healthy snack.