During my teen years our family spent a summer vacation in my parent's home town of Bari Italy.
Getting acquainted with grandparents, cousins, aunts and uncles that we had never met before was exciting and at times very interesting. My sister and I spent most of that summer at the home of an aunt and uncle who made our stay very enjoyable. I have so many wonderful memories of the time spent there but vividly remember and cherish one in particular.
On his way to work my uncle would drop in to the neighborhood bakery to order a freshly baked focaccia for us which was later delivered to the house by a young boy on a bicycle. Still warm from the oven the aroma of bread, tomato, oregano and olive oil still remains fresh on my mind. We quickly got used to this royal treatment and looked forward to that early morning delivery for the entire length of our stay.
I make several kinds of focaccia, each special in their own way. The individual focaccia made with my favourite pizza dough recipe is delicious.
Then there's the recipe I have adapted to my grandmother’s heirloom focaccia pan which gives it a very unique crisp crust, by far my favourite. The French Fougasse with its interesting shape and chewy texture is truly enjoyable and a taste experience that shouldn’t be missed.
This recipe for Olive Focaccia calls for milk as part of the required liquid giving it a soft tender crumb. It has been in my collection for many years and I’ve made it on numerous occasions following the original recipe.
However, my recent interest in Herbes de Provence, a mixture of herbs commonly used in France has inspired an Italian focaccia with a French twist…a perfect combination!
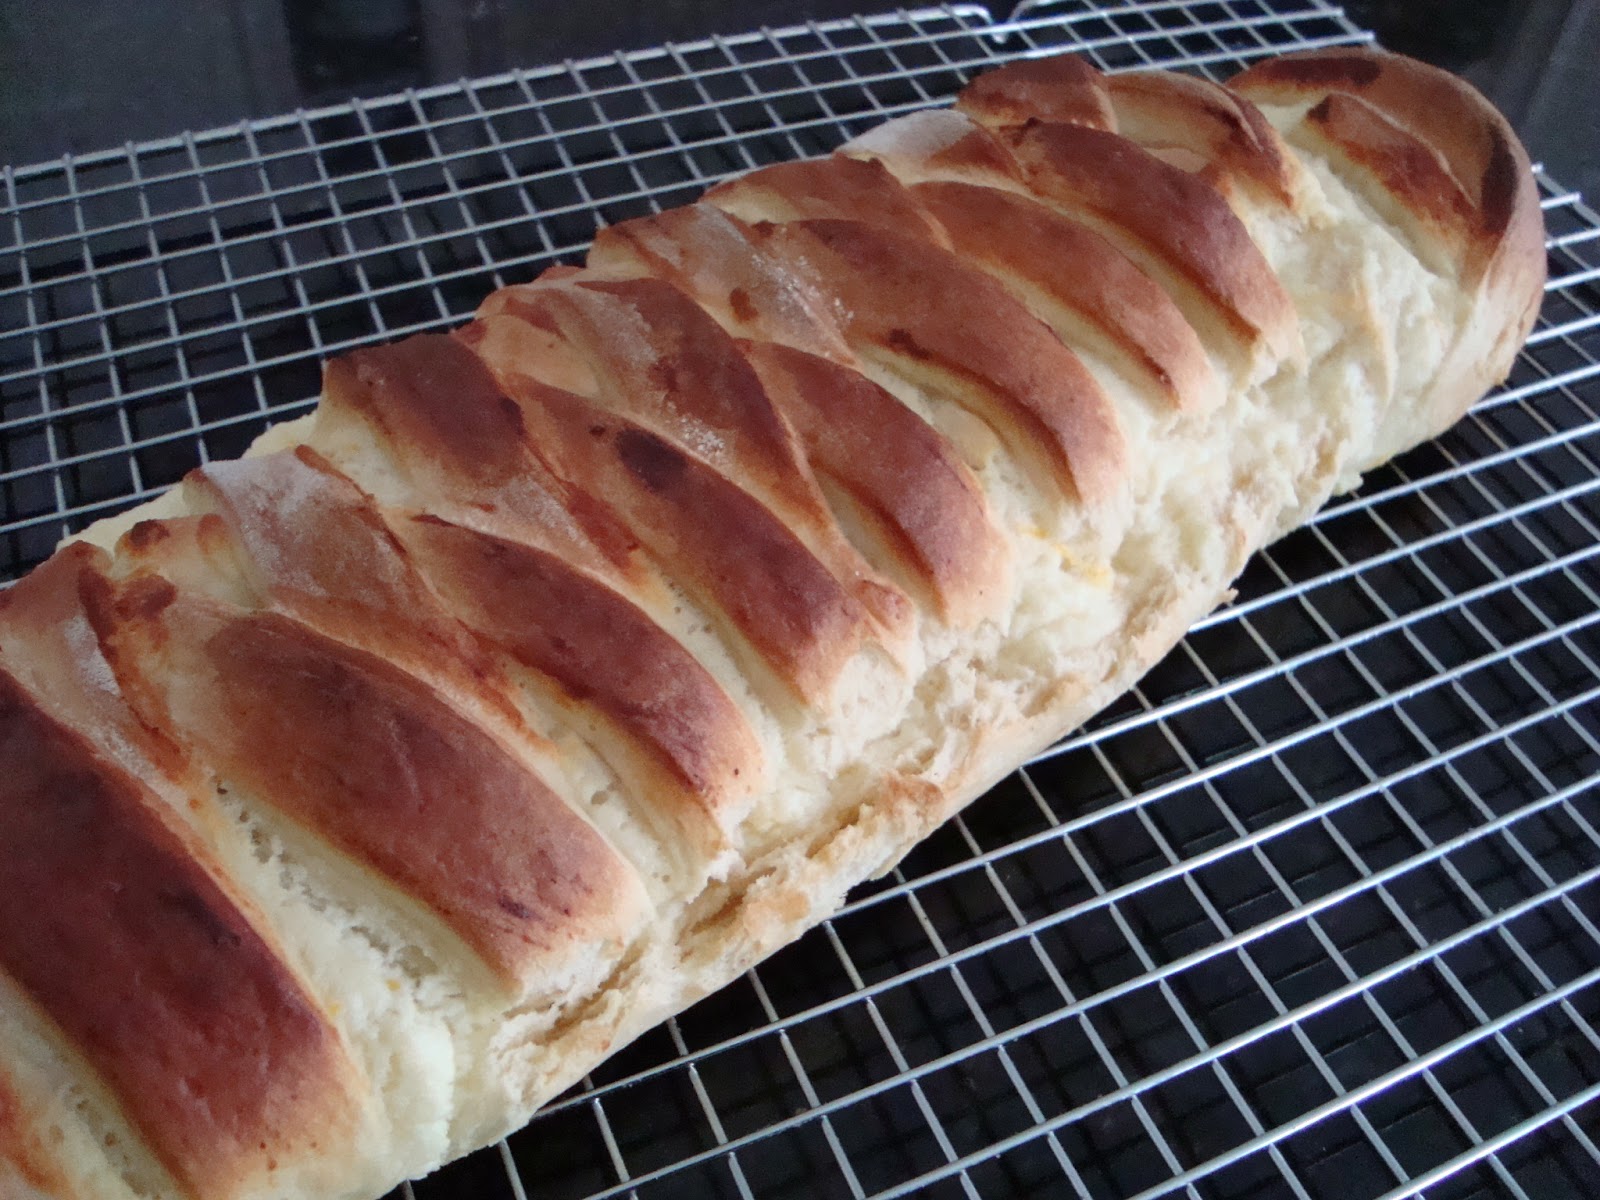
Olive and Herbes de Provence Focaccia
1 tablespoon dry yeast
½ teaspoon sugar
4 to 4 1/2 cups all- purpose flour
1 ¼ teaspoons salt
1 cup warm water
1 cup warm milk
¼ cup olive oil
2/3 cup coarsely chopped oil cured olives
- In a large bowl mix together warm water, milk sugar and yeast until yeast dissolves and is bubbly. Stir in the olive oil.
- Add 2 cups of flour and salt and beat until well mixed.
- Add 2 more cups of the flour reserving the remaining ½ cup to add only if needed.
- Add the chopped olives and knead dough for 2 to 3 minutes, place in a bowl and brush olive oil over the top,
- Cover bowl and allow to rise for 1 hour.
- Place dough into the center of a 10x15 inch pan. (approximate size)
- With hands flatten and stretch dough until it has filled the pan.
- Brush top with olive oil and sprinkle Herbes de Provence over top and allow to rise uncovered for 15 minutes.
- Bake in a preheated 400 degree F. for 15 minutes.
- Reduce heat to 350 degree F. and bake an additional 20 minutes until golden and focaccia springs back when touched.
- Cool on wire rack and serve at room temperature.


Notes, Tips and Suggestions
- I have just fallen in love with Herbes de Provence, the aromatic mix of herbs is addictive. I purchased some at the bulk food store for mere pennies. (Just remember to get some before your pennies run out.)
- This makes delicious sandwich bread, just the right amount of bread ready for a delicious filling.
- This focaccia can also be a blank canvas for your favourite toppings.
- If you are not a fan of olives, omit them and add whatever you please. May I suggest sun dried tomatoes?