Looking for a specific recipe? Search here:

Friday, October 31, 2014

Bread Sticks


Homemade bread sticks have been something I’ve always wanted to make in anticipation of enjoying something better than store bought which are seriously lacking in texture and taste!

After checking out several recipes I choose this one since it seemed to have the right balance of ingredients, standing out above the rest.

However, while putting the ingredients together I found it necessary to reread the recipe several times since the directions were not giving the results described. At this point I wasn't getting a strong sense of oncoming success.

You do know there’s absolutely no giving up half way through a recipe!

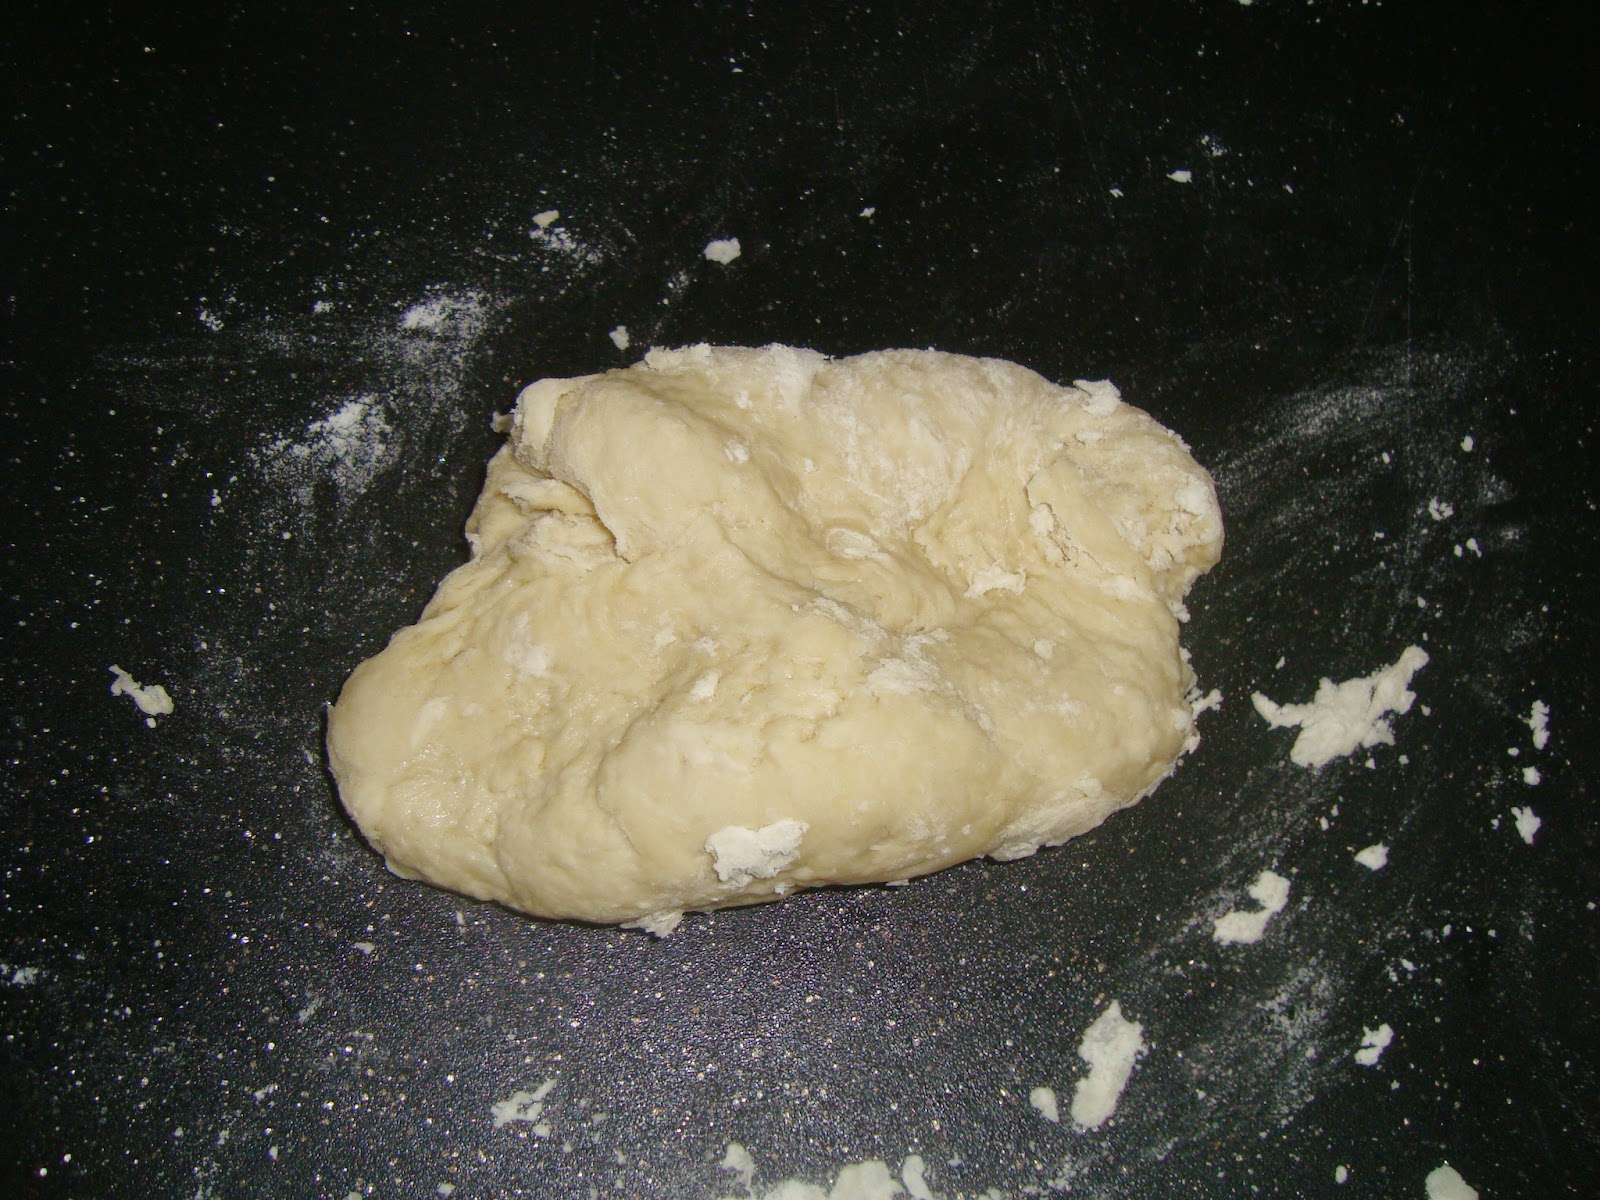
After the initial cup of flour, up to one one and a quarter additional cups could possibly be added.  It was a good idea to add the rest of the flour in half cup increments since the right dough consistency was reached after the addition of the first half cup.

After stressing a little over how I was going to get thirty two bread sticks out of the amount of dough I ended up with I finally realized that the lesser amount of flour used was most likely the reason for a yield of twenty bread sticks instead.  A few minor ingredient adjustments and clarification in the method of preparation was also necessary and are reflected in the recipe below.  

Now for the good news…absolutely rustic, crunchy and delicious! 

Bread Sticks
2 ¼ teaspoons active dry yeast
2/3 cup warm water
1 teaspoon sugar
¼ cup olive or vegetable oil plus 2 tablespoons for brushing on bread sticks
2 to 2 ¼ cups all- purpose flour
1 egg white plus one tablespoon water, lightly beaten
coarse salt or sesame seeds
  1. Dissolve yeast in warm water and sugar.
  2. Combine 1 cup flour, ¼ cup oil and salt, add dissolved yeast and stir until smooth.
  3. Stir in remaining flour ½ cup at a time until dough is soft, leaves sides of bowl and is easy to handle.
  4. Knead dough for 5 minutes or until dough is smooth and elastic lightly flouring the hands if necessary. Shape dough into a uniform roll 10 inches long.
  5. Cut crosswise into 32 equal pieces (this will depend on how much flour is actually used.)
  6. Roll each piece into a pencil like rope 8 to 10 inches long.
  7. Place 1 inch apart on parchment lined baking sheet and brush with the 2 tablespoons olive oil.
  8. Cover loosely with a sheet of plastic wrap which has been sprayed with cooking spray.
  9. Let rise in a warm place for 20 minutes.
  10. Brush bread sticks with egg white and water mixture and sprinkle with coarse salt or sesame seeds.
  11. Bake in a preheated 350 degree F. oven for 20 to 25 minutes or until the bread sticks are golden.
  12. Cool on racks


Notes, Tips and Suggestions
  • This is a good basic bread stick recipe and can take on many flavours such as garlic, herb, black pepper, cheese or any personal favourite.
  • Roll dough to the longer length if a thinner bread stick is desired.
  • These would make delicious prosciutto wrapped bread sticks if there were any left to wrap!

Friday, October 24, 2014

Double Chocolate Oatmeal Cookies


I find baking cookies to be very therapeutic especially the kind requiring basic ingredients and not too many bowls.  In the span of eight to twelve minutes baking time a delicious aroma fills the kitchen giving an almost immediate reward of enjoying a few warm, freshly baked cookies with plenty left over for later.

It was a cookie baking kind of day today and although there’s no shortage of cookie recipes in my collection this recipe for Double Chocolate Oatmeal Cookies I came across in a grocery store pamphlet caught my attention.

Making a chocolate oatmeal cookie was a first for me but interesting enough to give a try.  After all what could possibly go wrong with ingredients like butter, chocolate, sugar and oats?

Apparently these ingredients get along very well producing a delicately crisp exterior and soft, chewy middle... chocolatey and delicious!

Double Chocolate Oatmeal Cookies

1 cup butter, melted
1 cup packed brown sugar
½ cup granulated sugar
2 eggs
1 teaspoons vanilla extract
3 cups rolled oats
1 ½ cups all-purpose flour
½ cup cocoa powder
1 teaspoon baking soda
½ teaspoon salt   
1 cup semi-sweet chocolate chips
  1. Sift together flour, cocoa, soda and salt, add rolled oats and mix well.
  2. Beat butter and sugars until combined.
  3. Add eggs and vanilla and blend until well combined.
  4. Stir dry ingredients into wet ingredients stirring until well blended.
  5. Roll 1 tablespoon of dough into a ball and place onto parchment lined cookie sheet about 2 inches apart.
  6. Bake in a preheated 350 degree F. oven for 10 to 12 minutes.  Cookies will still be soft to the touch, let sit on cookie sheet for about two minutes until a little more firm.
  7. Transfer to a cooling rack to cool completely. 
  8. Makes about 50 cookies.


    Notes, Tips and Suggestions 
  • There will definitely be some coconut going into these cookies the next time I make them.
  • I used approximately 1 1/2 tablespoons of dough for each cookie making an average size cookie as opposed to the 1 tablespoon specified in the recipe. Using this amount gave a yield of 40 cookies instead.
  • Remember to let cookies rest for a couple of minutes on the cookie sheet after removing from oven to firm up.
  • As always use a good quality cocoa powder for best results.

Friday, October 17, 2014

Chocolate Orange Pecan Biscotti


This recipe for Chocolate Orange Pecan Biscotti was just too interesting to remain as ingredients printed on a page. 

Most Biscotti recipes are similar in basic ingredients of flour, sugar and baking powder but when it comes to the defining ingredients the flavour possibilities are endless.

Biscotti have come a long way from the ones I remember eating as a child. Three flavours were standard fare in those days which included lemon/orange, anise flavour and my least favourite Biscotti studded with dried fruit, the kind found in fruitcake.

A few years ago it became somewhat of a mission for me to search out a really outstanding Biscotti recipe. Since then I've been making one delicious variety after another, each as good or better than the previous.  

Along with the explosion of flavours found in the more modern biscotti the texture has certainly changed for the better.  The once dense, tooth breaking texture has evolved into a crisp, crunchy delight with a more tender texture than its predecessor.

Bitter sweet chocolate, toasted pecans and a hint of orange make these Biscotti a pleasure to enjoy and share!

Chocolate Orange Pecan Biscotti
2 cups plus 2 tablespoons all-purpose flour
1 ½ teaspoons baking powder
¼ teaspoon salt
½ cup unsalted butter, room temperature
2 large eggs
2 tablespoons Grand Marnier or other orange liqueur
1 tablespoon finely grated orange peel
1 cup pecans, lightly toasted, coarsely chopped
6 ounces bitter sweet chocolate, chopped
  1. Line a large baking sheet with parchment paper.
  2. Sift together flour, baking powder and salt into a medium bowl. Set aside.
  3. With electric mixer beat together butter and sugar then add eggs one at a time.
  4. Add Grand Marnier and orange peel then flour and beat until well blended.
  5. Stir in pecans and chocolate.
  6. Divide dough in half and roll each piece about 14 inches by 2 ½ inch wide log.
  7. Place logs 2 inches apart on prepared baking sheet.
  8. Bake in a preheated 350 degree F. oven until golden, about 25 to 30 minutes.
  9. Remove from oven and let cool about 5 minutes then using a serrated knife cut logs on diagonal in1/2 to ¾ inch slices.
  10. Stand slices upright on baking sheet.
  11. Reduce heat to 325 degrees F. and bake an additional 25 minutes until golden.
  12. Remove and cool completely on rack.


Notes Tips and Suggestions
  • Orange liqueur can be replaced with 2 teaspoons of orange extract or a few drops of orange oil.
  • Be sure to lightly toast the pecans for maximum flavour.

Friday, October 10, 2014

Chocolate Apple Nut Bread


I’ve been saving this recipe for Chocolate Apple Nut Bread for years promising myself one day to give it a try.  While locating the Apple Loaf recipe I usually make I came across the recipe once again and decided this was the day to make good on my promise.

A few changes to the original recipe, just because I thought they would work resulted in a moist and delicious loaf. Since the recipe calls for melting instead of creaming the butter I decided to use canola oil reducing the amount to two third cups instead of the three quarter cups of butter and coarsely grated apple was substituted for the chopped apple. 

Both changes were successful although if a little more apple texture is desired chopping the apple would be the better choice.  The grated apple disappears into the loaf adding taste and moistness but no texture to speak of.  This could come down to a matter of taste.

The addition of cocoa powder definitely gives a new dimension to this apple loaf while the more traditional flavours of cinnamon and nutmeg continue to be some of the apple’s best friends.

Promise kept, successful changes and a delicious loaf… good day in the kitchen!

Chocolate Apple Nut Bread

2 cups flour
1 ¼ cups granulated sugar
1/3 cup cocoa powder
1 teaspoon baking soda
¼ teaspoon salt
1 teaspoon cinnamon
½ teaspoon nutmeg
2 eggs
½ cup milk
¾ cups butter, melted (or 2/3 cups corn or canola oil)
2 cups peeled diced apples
1 cup chopped walnuts

  1. Grease a 6 cup loaf pan. (8 1/2 x 4 1/2 x 2 1/2 inch pan)
  2. Sift together flour, sugar, cocoa, soda, salt, cinnamon and nutmeg.
  3. Combine eggs, milk and melted butter and add to dry ingredients stirring just until moistened.
  4. Stir in apples and nuts.
  5. Bake in a preheated 350 degree F. oven for 70 to 80 minutes or until done.
  6. Cool 10 minutes in pan, remove from pan and place on cooling rack. 


Notes, Tips and Suggestions
  • After noticing that other than the eggs the only leavening agent is one half teaspoon of baking soda, I wasn’t sure it would be sufficient.  I decided to mix the wet ingredients in the blender until light and fluffy adding as much volume as possible to lighten the loaf just in case.  I’m not sure if the baking soda alone would have given the same good results and don’t intend on finding out.  I suggest using this method if possible.
  • I didn’t miss the butter at all, the loaf was perfectly rich and tasty using the canola oil.
  • Next time I will chop the apple instead of grating just to get a little extra texture although  grated apple also works well.
  • Use good quality cocoa powder it makes all the difference.
  • As always a little strip of parchment paper at the bottom of the loaf pan helps turn out a perfect loaf.

Friday, October 3, 2014

Caramel Sauce


If it wasn’t for the fact that apple season comes on the heels of peach season I would still be missing the peaches.  To choose a favourite between the two fruits wouldn’t be an easy task.

My focus now is to enjoy apples in as many recipes as I can for as long as I can before the season is over.  However, unlike the peach, apples keep well in storage under proper conditions and some varieties can be enjoyed for a good part of the year. 

The apple is such a versatile fruit and perfect in sweet as well as savory preparations.   As good as this fruit is when juiced, sauced, baked, dried, candied or crowned with a crumble, nothing beats biting into a crisp, juicy, fresh apple straight off the tree.

Perhaps dipping a few wedges in some sweet, buttery caramel sauce may just be the next best thing!

Caramel Sauce
1 cup packed brown sugar
½ cup corn syrup
¼ cup butter
2 tablespoons water
1 tablespoon vanilla
½ cup whipping cream
  1. In a heavy saucepan bring sugar, corn syrup, butter and water to a boil over medium high heat stirring constantly, boil for 1 minute.
  2. Reduce heat to medium and cook for 5 minutes.
  3. Remove from heat and stir in vanilla.
  4. Let cool slightly then stir in whipping cream (sauce thickens as it cools).
  5. Makes 1 ½ cups.


Notes, Tips and Suggestions
  • This sauce is delicious served over ice cream.
  • Refrigerate sauce once cooled.
  • This is a perfect way to enjoy caramel apples...you won't even miss the stick!