Looking for a specific recipe? Search here:

Friday, November 29, 2013

Ciabatta Bread


It seems we’ve only been enjoying Ciabatta style bread in more recent years but a little reading up on the subject revealed the modern version of this bread originated in Italy becoming popular in North America around the 1980’s.  I think I was too busy raising my kids in the 80’s to notice its debut.  
 
The word Ciabatta translates as“slipper” in the Italian language and a small stretch of the imagination will reveal the resemblance. Even though the way it’s made differs from recipe to recipe some characteristics are similar especially the distinctive flat shape.
 
Ciabatta could possibly be one of my favourite breads. The chewy texture and big airy holes makes this bread an excellent choice for paninni.  The amount of crumb is minimal, just enough to hold a good amount of filling with not too much bread to fill you up.
 
On the other hand, a rough pinch off the loaf and quick dip into a pool of oregano infused extra virgin olive oil takes this rustic loaf to new heights.
 
There are numerous recipes for Ciabatta and my search for a good recipe stopped with this one which seemed easy enough to give a try since I'd never attempted to make one before.  
 
A yeast starter needs to be prepared the day before which only takes a few minutes to make and slip into the refrigerator overnight. This extra step is well worth while as it produces a texture that I have not yet been able to achieve in any other bread that I’ve made.
 
One batch of starter is enough to make the bread twice and this worked out well  since the second batch of bread I made included a number of changes to the original recipe.
 
The fact that there is not one crumb left of the four loaves that came from the oven in the past week indicates that it was well received by all but I’m not sure that I’ve come across the recipe that has ended my search for the best Ciabatta loaf.
 
This recipe will do until further notice!
 
Ciabatta Bread
 
Starter ( Biga)
¼ teaspoon dry yeast
¼ teaspoon sugar
1 cup warm water
1 ¼ cups all-purpose flour
  1. Dissolve yeast in sugar and warm water.
  2. Mix in flour by hand until no lumps remain.
  3. Cover and refrigerate for at least 12 hours.  (Making starter the day ahead is the best way to go.)
  4. 1 cup of this mixture will be needed for the bread.


Bread
1 teaspoon instant dry yeast
3 tablespoons milk at room temperature
2/3 cup warm water
1 tablespoon olive oil
2 ½ cups all-purpose flour
1 ½ teaspoons salt
cornmeal for baking tray
  1. Stir yeast and milk in the bottom of a bowl of a stand up mixer fitted with a paddle attachment.
  2. Add yeast, water, oil, starter and mix with paddle until blended. (Dough can also be mixed by hand in a bowl using a wooden spoon.)
  3. Switch to the dough hook and add flour and salt kneading on low speed for 2 minutes then increasing to next speed up, kneading for 3 minutes until dough becomes stretchy and springs back when slapped with hand .  (Dough will be too sticky to knead by hand.)
  4. Place dough in an oiled bowl, cover with plastic and set in a draft free, warm area to rise for about 90 minutes. Dough should have lots of big air bubbles visible when ready.
  5. Turn dough out onto a floured work surface and roll up into a cylinder then pull and stretch the dough into a rectangle about 20 by 8 inches.
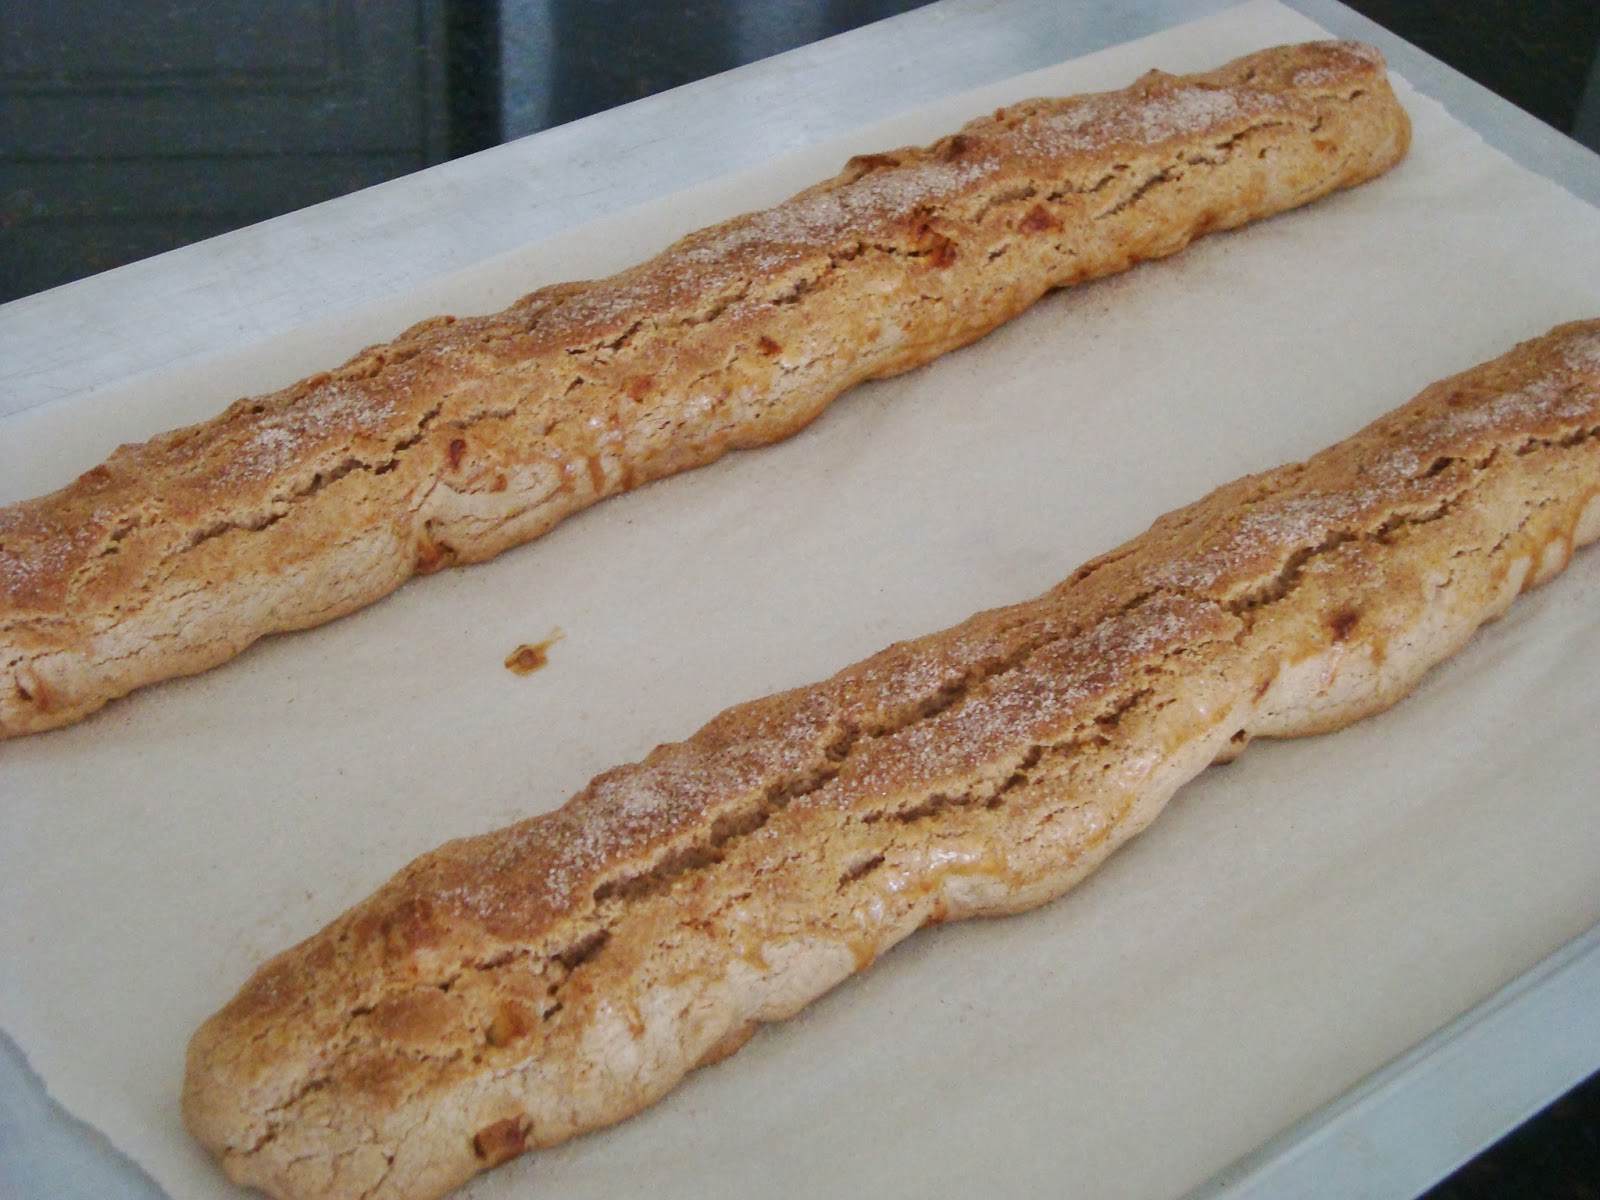
  6. Cut dough in half lengthwise and place on 2 parchment lined baking trays which have been sprinkled with cornmeal.
  7. Place a greased piece of parchment paper (to prevent very soft dough from sticking) and cover with a clean dampened tea towel then allow to rise another 90 minutes.
  8. Preheat oven to 425 degrees F. and place a large baking tray into the oven to heat.
  9. Remove hot tray from oven, uncover loaves and slide parchment with bread onto hot tray and return to oven quickly.
  10. Spray tops of loaves with a little water, close oven quickly and bake for 10  minutes.  Open oven door and spray loaves once again.  Continue to bake loaves for another 15 minutes or until a golden colour.
  11. Remove loaves from oven and cool on rack.


Notes, Tips and Suggestions

To be honest had there not been a second amount of starter I may have never tried this recipe again.  Having never worked with such soft bread dough before was somewhat of a challenge.  It was just of matter of deciding what could be done differently from the original recipe that made things go a little smoother on the second try. This recipe includes any changes that were made.

Transferring the loaves onto the parchment lined baking trays will still pose a bit of a challenge but once they get there a little reshaping will make things better, always remembering that rustic is beautiful!

The original recipe instructed to place a dampened towel directly on the rising loaves. The towels will stick to the bread no matter how damp they are.  A piece of greased parchment paper over the loaves before placing the towels is a better idea.  I learned the hard way.

The time invested to produce this delicious bread brings satisfying results.

The loaves made this past week accompanied a couple of dinners, a piece was eaten as an after dinner snack and some of it made delicious paninni for two lunches. Without mentioning any names the very last piece was served to someone who came over this week and didn't care for the corn bread I had made for dinner. After eating most of the Ciabatta, the very small left over piece was quickly wrapped up and taken home!

Friday, November 15, 2013

Apple Cinnamon Biscotti


I may be developing a biscotti obsession as it seems I can never have enough variations of this twice baked, twice delicious cookie.

When a particular ingredient comes into mind I begin to wonder if anyone has ventured into the idea of adding it to biscotti dough.  I have yet to be disappointed since every ingredient I've thought of so far has already found a place in several biscotti recipes.

Curious as to an existing Apple Biscotti Recipe my adventure took me to several recipes; which really didn’t come as a surprise.  However, it required a little decision making to choose one that was well worth a try.

This recipe for Apple Cinnamon Biscotti is actually the marriage of two different biscotti recipes.  I came across a recipe for Cinnamon Biscotti while looking for the Apple Biscotti Recipe and combining the two just seemed so natural. A few minor adjustments turned out another winning biscotti recipe.

If the aroma of apple pie coming from these biscotti while baking isn't enough, the classic biscotti crunch will not disappoint!

Wonder if there’s a pear and ginger biscotti recipe out there somewhere…

Apple Cinnamon Biscotti

½ cup butter, room temperature
1 cup sugar
2 eggs
2 cups flour
1 teaspoon baking powder
¼ teaspoon salt
2 teaspoons cinnamon
1/2 cup finely chopped dehydrated apple

Topping
2 tablespoons sugar
½ teaspoon cinnamon
1 egg, beaten

  1. Cream together butter and sugar until light and fluffy
  2. Add egg and egg yolk, beating well.
  3. In a separate bowl sift flour, baking powder, salt and cinnamon.
  4. Add flour mixture to butter mixture 1 cup at a time then add finely chopped apple.
  5. Blend together to make a stiff dough.
  6. Cut dough in half and form 2 logs each approximately 10 to 12 inches long.
  7. Place on a parchment lined or greased baking sheet.
  8. Brush with beaten egg and sprinkle with cinnamon topping.
  9. Bake in a 325 degree F. oven for approximately 45 minutes.
  10. Remove from oven and while still warm slice diagonally into ¾ inch slices.
  11. Place slices side down on baking sheet and bake for 6 minutes.
  12. Turn slices over and bake an additional 6 minutes until lightly golden and crisp.
  13. Cool completely and store in an air tight container.


Notes, Tips and Suggestions

  • The cinnamon sugar topping is a matter of preference, I will omit it the next time I make these biscotti.
  • Make sure to chop the dehydrated apple very finely.  Larger chunks tend to get caught in the knife when cutting the slices.
  • Delicious!


Friday, November 8, 2013

Manicotti


I don’t remember my mother ever preparing Cannelloni or Manicotti for us while living at home perhaps being the reason that I really didn’t know the difference between the two.  I’ve been guilty of using the terms interchangeably when in fact they have distinct differences affecting their texture and taste.

Recently I discovered  there has been more Manicotti than Cannelloni prepared in my kitchen throughout the years. Regardless, they are equally delicious.

The word Cannelloni roughly translates as “big tubes” and can be purchased in the dry pasta aisle of most grocery stores.  Homemade sheets of pasta can also be filled, rolled up and baked in a tomato or béchamel sauce.  Manicotti, loosely translated as “sleeves” are very thin crepes most times filled with a ricotta mixture, rolled up then baked in tomato sauce.

Even though the ingredients used to make both home made Cannelloni dough and Manicotti crepes are the same consisting of flour, oil and eggs they are distinctive dishes with unique flavours and textures made in totally different ways.  In my opinion, the store bought variety should only be used in a pinch; if you have tasted home made you will understand why.

Because of the delicate nature of the crepes, a smooth, light ricotta filling works best whereas a more hearty meat filling works well in the store bought or home made pasta sheets.

It’s really not as complicated as it may sound.  After choosing which one appeals to you most, a little organization and the anticipation of a wonderfully delicious meal is enough motivation to give at least one of the two a try.

What can taste better than home made Cannelloni or Manicotti? Provided you have any  leftovers they are even more delicious warmed up the next day!


Crepes
These are quite easy to make but on your first try to make them they might not turn out as round as you would like them to be.  Not to worry, once the filling is put on them and rolled up they could even be square and no one else will be the wiser.  The important part is to make them as thin as you can.

3 large eggs
¾ cup water
½ teaspoon salt
1 tablespoon vegetable oil
¾ cups flour
  1. Beat eggs then add salt and oil.
  2. Gradually add the flour until well incorporated. (adding the flour before the water avoids a lumpy batter)
  3. Continue beating while gradually pouring in the water until a smooth, liquid batter is achieved.
  4. Heat a 6 inch skillet over medium heat and lightly brush with an oil dampened paper towel.
  5. Pour 2 tablespoons of batter in the center of the pan turning the pan to cover the bottom.
  6. Cook until firm and dry, golden but not brown. (Touch the top of the crepe with a finger, if it's no longer sticky, it's ready.) Do not turn to cook other side.
  7.  Remove from pan, cool then stack between wax paper that has been sprinkled with a little flour to prevent sticking.
  8. Wrap and freeze if not using the same day.
  9. Makes 12 to 14 crepes.
Filling
about 1 ½ pounds ricotta cheese
1 egg
salt and pepper to taste
about ½ cup grated parmiggiano or favourite cheese
finely chopped fresh, Italian parsley.
  1. Mix all ingredients together until smooth.
Manicotti
ready made crepes
mozzarella strips (optional)
meat or marinara sauce, enough to cover manicotti.  Sauce should be a little loose in consistency since it will continue to cook and thicken in the oven
shredded mozzarella (to sprinkle on top)
finely chopped fresh parsley
  1. Spread the cooked crepes out on a flat surface cooked side down.
  2. Place equal amounts of filling lengthwise in the middle of each crepe.
  3. Add a strip of mozzarella in the center (optional but delicious)
  4. Fold in the sides over the filling then starting at the bottom side roll  up to make a cylinder shape.
  5. Ladle some tomato sauce in the bottom of a baking dish large enough to accommodate the filled crepes.
  6. Place the crepes in the baking dish leaving just a little space in between each crepe to allow for expansion.
  7. Cover the crepes with tomato sauce then cover pan with foil wrap and bake at 375 degrees F. for 35 to 40 minutes.
  8. Add a sprinkle of shredded mozzarella during the last 10 minutes of baking.
  9. Remove from oven and let sit for 10 minutes to settle.
  10. Sprinkle fresh chopped parsley and serve with extra sauce if desired.


Notes, Tips and Suggestions
  • Marinara sauce works well but a tasty meat sauce works even better.
  • Assemble and bake Manicotti the day before and warm up just before serving, absolutely delicious.
  • Adding the shredded mozzarella towards the end of baking time makes sure it remains soft and stringy.
  • Cannelloni can be also filled with the ricotta filling.
  • Make ricotta spinach filling by adding some cooked  spinach to the ricotta. (make sure to squeeze as much moisture as you can out of the spinach before adding.)
  • Use of a piping bag and large round tip makes filling the crepes very easy and less messy.
  • Although the Manicotti crepes are traditionally just rolled and baked , folding in the sides before rolling keeps all of that delicious filling exactly where it should be...inside.
  • Of all the dry Cannelloni shells available on the market , the thin precooked tubes in my opinion are best.  Just fill with a favourite filling, completely cover with a thin consistency tomato sauce and bake.