Looking for a specific recipe? Search here:

Friday, November 30, 2012

Amaretti


A stack of cookie books along with loose recipe cards which have been pulled out of recipe binders sit on the kitchen counter reminding me that I should get started with my holiday baking.

For the next few weeks the kitchen will become a cookie factory by day but by dinner time not a trace of the day's work will remain and the room will once again return to it's normal routine.  Flour and sugar containers will empty out as fast as they are filled and the fragrance of melting chocolate will fill the house for days.

The search for every empty container begins and trays that will hold an assortment of cookies for giving away to family, friends and neighbours will be placed close by ready to be filled.

Some cookies are just standard for this time of year and expected to appear among the assortment  but now and then a new recipe is added and time will tell if it becomes a traditional favourite.

Amaretti is the Italian name for macaroon.  Crisp and crunchy on the outside and soft and chewy on the inside these cookies have adorned many cookie trays at Italian weddings and any other occasion worth celebrating.

Almonds, glace or crystallized cherries and chocolate are among some of the more familiar decorations that top these cookies and the dough is sometimes tinted in various colours I suppose just to make things a little more interesting.

I’ve tried a few recipes for Amaretti over the years but was unsuccessful in replicating that chewy almond center like those sold in Italian bakeries. Several years ago I came across a recipe for these cookies in a magazine which called for almond paste as the main ingredient.  The recipe sat in my “to try out file” for a very long time as I had no clue where to buy almond paste.

On a trip to the U.S. to visit relatives a few years back I had my first encounter with a seven pound tin of pure almond paste and have now made a point of purchasing another tin each time we visit.

The awaiting Amaretti recipe finally met with the almond paste and the rest is history.  I’ve been making these cookies for many years since then and consider them to be as good if not better than store bought.

Translated, the word Amaretti means “little bitter things” hardly words that would strike a craving for them. I believe that bitter almonds were part of the original Amaretti recipe thus giving them this less than appealing name.  I'm sure there’s a small amount of bitter almonds in the paste that I buy which accounts for the intense almond flavour in the cookie. 

These delightfully delicious, sweet cookies are anything but bitter and I believe some words are better left untranslated! 

Amaretti
½ cup granulated sugar
½ cup confectioners sugar
¼ cup unsifted flour
Pinch of salt
8 ounces almond paste
2 egg whites
  1. Grease and flour cookie sheets or line with parchment paper
  2. Sift together flour, both sugars and salt.
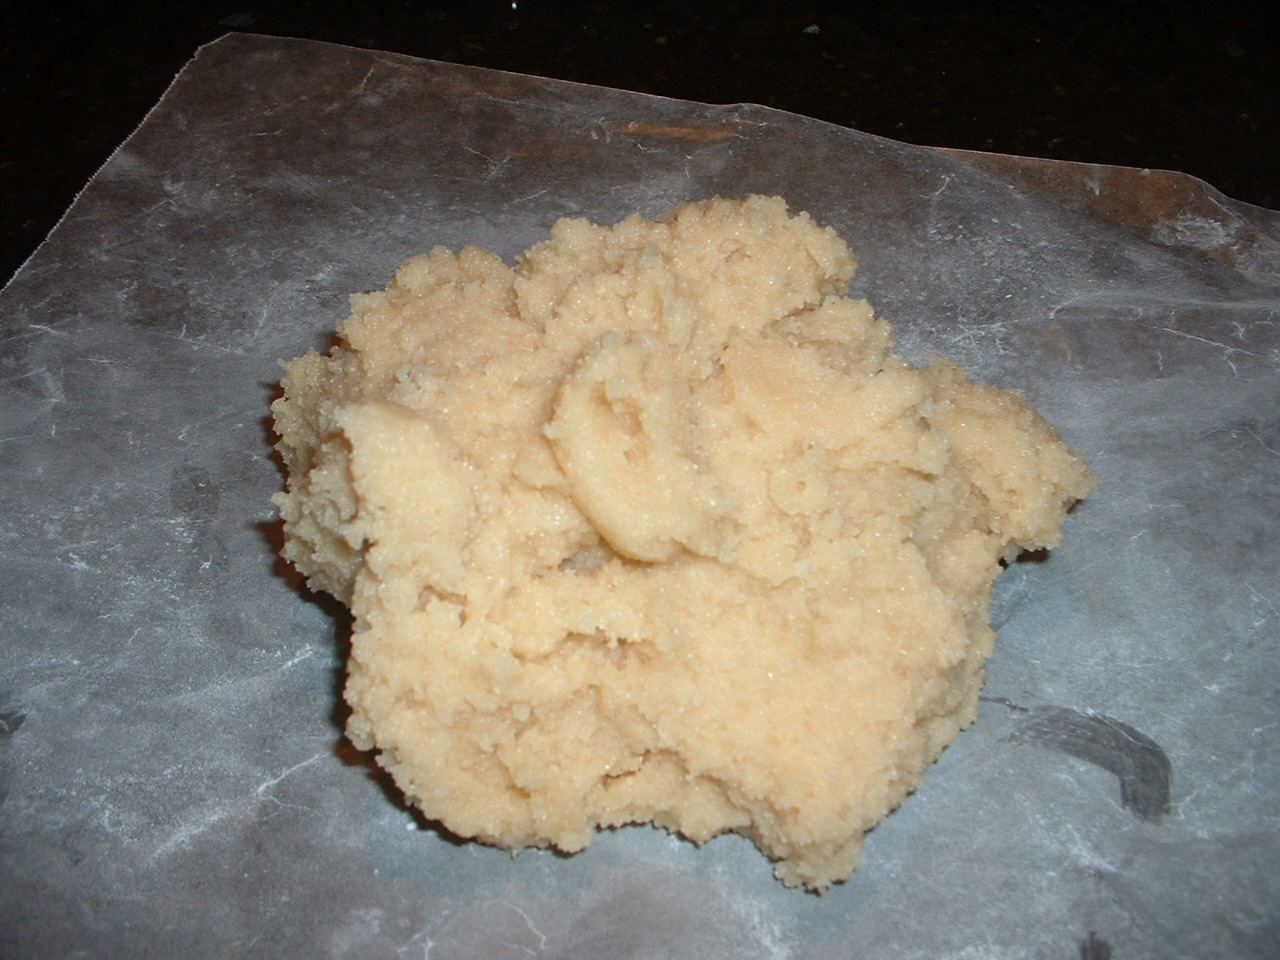
  3. Break almond paste into small pieces in a separate bowl.
  4. Add the egg whites and beat with an electric mixer until smooth.
  5. Stir in dry ingredients with wooden spoon or spatula.
  6. Tint part of the dough with a few drops green food colouring (optional.)
  7. Pipe onto prepared sheets and bake in a preheated 325 degree F. oven for 20 to 25 minutes.
  8. Remove onto wire rack to cool.
  9. Makes 20 to 25 cookies.


Notes, Tips and Suggestions
  • Do not use marzipan in this recipe as it contains a greater ratio of sugar than almond paste and will not give good results. (believe me, I've tried it)
  • Dough can also be formed into small balls and rolled in coarsely chopped almonds before baking.
  • Place cherries or almonds on cookies before baking but if decorating with chocolate it must be melted and added after the cookies are baked and cooled.
  • These cookies freeze very well. 

Friday, November 23, 2012

Brownies in a Jar


I’ve always been intrigued by in a jar recipes. Over the past years a few cook books on the subject have been added to my recipe collection.

These books include recipes for cookies, muffins, breads and scones and even soups and chilies.  The ingredients are attractively layered in one quart mason jars with added instructions for baking or cooking.

I’ve put together cookie recipes in a jar for a few different occasions but this is my first try at a recipe for brownies.

Two different recipes that I came across seemed to have good potential for success but needed to be tested before posting.  Although both recipes had similar ingredients the second one gave much better results and used less sugar and a lesser amount of butter than oil called for in the first recipe.

I promise to only share recipes that I have first tried making myself and feel confident about the results.  This recipe makes delicious, chewy, moist brownies that can be prepared in a few minutes by adding butter, eggs and vanilla to the ingredients in the jar.

They are quite easy and inexpensive to put together and a few decorative touches to the jar allows them to be given away with pride. For those who receive them, the recipe is simple enough to be made by the most novice baker and enjoyable for all chocolate brownie lovers!

I must confess that I didn’t have a favourite recipe for brownies in my collection and not for lack of trying to find one.  In the jar or not this recipe makes great brownies.

No more brownies from a box!


Brownies in a Jar

1 ½ cups granulated sugar
1/3 cup cocoa
1 cup peanut butter chips or white chocolate chips
1 cup all purpose flour
½ teaspoon baking powder
¼ teaspoon salt
½ cup mini chocolate chips (see notes, tips and suggestions)

  1. On a piece of wax paper mix together flour, baking powder and salt.
  2. Layer the ingredients in a one quart mason or glass jar in the following order from bottom to top; sugar, cocoa, peanut butter chips, flour mixture and chocolate chips.
  3. Tap jar gently on the counter to settle each layer before adding the next one.
  4. Cover, decorate and attach baking directions to jar.

Baking Directions
  1. Heat oven to 350 degrees F.
  2. Grease and flour an 8x8 inch baking pan.
  3. Combine ½ cup melted and cooled butter and 2 slightly beaten eggs in a large bowl.
  4. Gently stir in jar contents.
  5. Spread in prepared pan and bake for 35 minutes.
  6. Cool in pan, cut into bars.
  7. Makes 16.

Notes, Tips and Suggestions

Use a good quality cocoa powder.  I discovered very good cocoa in the Bulk Barn called Ruddy Red and have stopped buying anything else. It's a little more expensive but worth every cent.

The Finishing Touches


  • To cover jar lid cut a round piece of your favourite material in a 6 1/2 inch diameter.
  • First use an elastic band to secure and adjust the circle of material over the lid.
  • Decorate with appropriate decorations such as ribbons and bells etc.
  • The use of a canning funnel makes the job of filling the jar a little cleaner.
  • Instead of tapping the jars on the counter to settle ingredients I used a wooden tamper to gently pat the layers down.
  • After adding the cocoa, since it's a small amount, use a spoon to push it towards the sides of the jar as much as you can so that the layer looks thicker otherwise you won't be able to see the cocoa layer as much then add the peanut butter or white chips.
  • The recipe calls for mini chocolate chips for the top layer, I used the regular size since that is what I had at the time and it filled the jar to the top.  Using the mini ones may leave some unfilled space. The mini chips settle a little more with less space in between them than the regular size chips.
  • I found there was no room to punch a hole in the printable tag and used 2 adhesive hole reinforcements on the corner of the tag for putting the ribbon through (sticky sides together).
  • Printable tag can be glued to the back side of the jar instead.
  • The printable tags are available  here.


Friday, November 16, 2012

Chocolate Confetti


My intention was to cook and post a savoury dish recipe that I was making for dinner this week but upon opening my pantry to gather the needed ingredients a bag of mini coloured marshmallows caught my eye.

The day was dull and grey and definitely needed some colour so I changed my mind and decided to make this special, colourful treat that my kids enjoyed so many times while growing up.

These fun treats put a smile on the face and sparkle in the eye of both children and adults alike.  I know this because one of my adult children occasionally reminds me of this recipe.

Before the peanut butter ban in the schools these sweets made it into their lunches on occasion.  I remember my daughter once sharing this snack with a very lonely foreign student far away from home and family.  Her friend was so grateful for something homemade that we decided to once again brighten her day and make some especially for her which she greatly appreciated.

I eventually got around to making dinner and intend to post the savoury recipe at some point unless once again distracted by something else in the pantry.

I can’t wait to see the smiles these sweet morsels will bring to the faces of some very special children we will be visiting this weekend but a portion have been lovingly put aside for the big children in my life as well.

Chocolate Confetti
¼ cup butter or margarine
½ cup peanut butter
1 cup semisweet chocolate chips
1 bag (250 gr.) miniature coloured marshmallows
coconut for topping
  1. Melt butter and peanut butter together in a large saucepan.
  2. Stir in chocolate chips until melted.
  3. Cool mixture so that you can hold your hand on the bottom of the pan.
  4. Add marshmallows and stir until all are coated.
  5. Line a 9x9 inch pan that has been lined with wax paper for easy removal.
  6. Pack mixture into pan making sure it is evenly distributed.
  7. Sprinkle coconut on top.
  8. Refrigerate until hardened then remove from pan and cut into squares.
  9. Makes 24 to 36 pieces depending on size.


Notes, Tips and Suggestions
  • Placing pan directly into the freezer for a couple of hours before slicing makes cutting the squares much easier and neater, after cutting store in refrigerator.
  • Add about a quarter cup of chopped nuts into the mix for something a little different .

Friday, November 9, 2012

Banana Walnut Biscotti


I always seem be on the lookout for a new Biscotti recipe and recently tried a recipe for Dark Chocolate Ginger Biscotti which have now become the favourite of a certain ginger lover that I know.

These Biscotti are studded with pieces of candied ginger and have a deep chocolate flavour that would certainly satisfy any chocolate lover.

Not being too fond of ginger myself I went searching for another new recipe to try out and came across this Banana Bread Biscotti recipe.  It looked quite promising and I was happy to see very ripe banana as an ingredient which piqued my interest.

One can never have too many ripe banana recipes and although they usually end up in Banana Bread or Banana Muffins I occasionally find myself with one very lonely very ripe banana which isn’t enough for either recipe.

I had a few reservations about this recipe but felt compelled to try it out nevertheless.  After making the first batch and following the recipe exactly I decided to make a few small changes and give it another try.

This is not to say that the first batch hasn’t almost disappeared from the cookie jar. By substituting the one tablespoon of oil called for in the recipe with two tablespoons of soft butter the Biscotti have a little more richness that I found lacking in the original recipe.

The next time I make these I will sneak in a third tablespoon of butter.

I also found the temperature for the second baking of the sliced Biscotti a little low at 275 degrees F. which didn’t allow those lovely golden edges to develop, I therefore left the oven temperature the same for the second baking and had better results.

Having already made at least two changes in the recipe it was easy to take the liberty of making a third.  The name Banana Bread Biscotti gives the idea that they are soft and moist like any banana bread.  On the contrary, they are crisp, crunchy, not too sweet little slices of deliciousness just waiting to be dunked into a hot cup of cafĂ© latte!

I have renamed the recipe Banana Walnut Biscotti and added it to my ever growing Biscotti recipe file.

Banana Walnut Biscotti


Preheat oven to 350 degrees F.
1 3/4 cups all purpose flour
1/2 cup sugar
1 teaspoon baking powder
1/4 teaspoon salt
1/2 cup mashed banana (1 banana)
1 tablespoon canola oil (or 2 to 3 tablespoons soft butter)
1 large egg
1 teaspoon vanilla
1/2 cup chopped walnuts
  1. In a medium bowl, stir together flour, baking powder and salt; set aside.
  2. In a large bowl, combine banana, oil, egg, sugar and vanilla and mix until well blended.
  3. Add the flour mixture and walnuts to the banana mixture and stir just until combined.
  4. Divide the mixture in half and shape each half into an 10 inch log.
  5. Place the logs about 4 inches apart on a cookie sheet that has been greased or lined with parchment. Press the logs into two rectangles about 3 inches across.
  6. Bake for 30-35 minutes, until firm and cracked on top. Transfer the logs to a wire rack to cool for 5 minutes.
  7. Place logs on a cutting board, trim the ends and using a sharp, serrated knife, cut each diagonally into 1/2 to 3/4 inch thick slices. Place biscotti cut side down on the cookie sheet. Return them to the oven (still at 350 degrees F.) and bake for 10 to 15 minutes. Flip them over and bake for another 10 to 15 minutes. Transfer to a wire rack to cool.
  8. Makes 2 dozen.


Notes, Tips and Suggestions
  • Walnuts can be replaced with an equal amount of chocolate chips in which case changes the name of the recipe again.  
  • Make sure to flatten the logs of dough as directed in the recipe since these biscotti do not spread much while baking.
  • Dipping one end of the biscotti into melted chocolate takes them to another level.

Friday, November 2, 2012

Lemon and Garlic Grilled Shrimp


 A comment was made during our Sunday dinner last weekend to the effect of  “You know it’s someone’s birthday when shrimp is on the dinner menu.”

I may cook shrimp during the week in dishes such as Shrimp Fried Rice but the Grilled Lemon or Panko crusted Butterfly Shrimp are definitely left to more special occasions.  Homemade fettuccini and shrimp in Marinara Sauce also ranks high for a celebratory dinner.

While growing up at home we were regularly taught about the various kinds of fish by my father whose passion for the sea was only surpassed by the enjoyment of a fish dish well prepared.

Besides being introduced to countless varieties there was always a story from the old country accompanied by a few good tips on the preparation of the kind we were eating at the time.

There are a few simple rules that I go by when purchasing and cooking shrimp.

The first is to stay away from any precooked shrimp, though somewhat convenient they greatly lack in the taste and texture category. Except for dipping the shrimp into a coctail sauce the opportunity to add good flavour has basically been missed.  Shrimp is too easy and quick to prepare to justify buying it precooked.

My favourite variety is the Black Tiger zipper back shrimp. Their texture and taste along with the fact that they are already cut along the back for easier peeling and come already deveined makes them my number one choice.

When preparing a dish that requires the shrimp to be cut into pieces, the smaller size are less expensive and work very well.  The jumbo size which range from sixteen to twenty shrimp per pound is definitely the way to go when grilling or making Butterfly Shrimp.

A very important rule is to never overcook shrimp; an extra minute of cooking time can definitely alter the palatability of the dish. Cooking times for most preparations take only minutes therefore it's highly recommended that you give those few minutes your undivided attention.

Since shrimp only requires minimal cleaning it can be done successfully by even the most squeamish although purchasing shrimp with their heads still attached is definitely not for the faint of heart!


Grilled Shrimp with Lemon and Garlic


1 pound jumbo Tiger Shrimp
½ cup olive oil
3 tablespoons fresh squeezed lemon juice
3 garlic cloves finely minced
½ cup green onions finely sliced
½ cup chopped dill (optional)
1 teaspoon salt
  1. Soak wooden skewers in water for 2 to 3 hours to prevent them from burning.
  2. Defrost shrimp in a bowl of cold water and salt.
  3. Peel shrimp making sure to leave the tail attached and place into a bowl.
  4. Whisk together olive oil, lemon juice and salt.
  5. Stir in the garlic, green onions and dill if using.
  6. Pour over the shrimp and marinade up to 1 hour.
  7. Skewer shrimp, brush with the marinade.
  8. Place on a hot grill for approximately 3 minutes per side.
  9. Brush with marinade while grilling.
  10. Shrimp should be opaque and have good grill marks when done.
  11. Serve with lemon wedges.


Notes Tips and Suggestions 
  • Once the shrimp are turned over check to see if done at the 2 ½ minute time for the second side.    
  • Be careful to not overcook.
  • Skewered shrimp on a bed of Arugula Salad makes a  delicious and appealing appetizer.